Gardening is more than a hobby—it is a practice steeped in respect for nature, resourcefulness and the art of working with the land. In the world of permaculture, every step from seed to harvest is an opportunity to connect with the earth and create a resilient ecosystem.
One such crucial step is “pricking out” your seedlings. This guide explains how to prick out seedlings, including carefully separating and transplanting your young plants once they’ve germinated, ensuring they have the space and nourishment to grow into strong, productive members of your garden.
In this article, we will explore the essential tools and techniques for pricking out, discuss how to choose the right containers, detail preparation methods and highlight additional factors that influence seedling size.
We will also cover pest and weed management, soil and watering considerations, the process of hardening off, detailed transplanting instructions and post-transplant care. Finally, we answer frequently asked questions to help you feel confident in your growing journey.
You Will Need
Before you begin, gather the essential tools and supplies that will support your seedlings’ transition from a crowded tray to their own individual spaces. In a permaculture or polytunnel garden, every tool has a purpose, and using high-quality, sustainable materials is key. Here’s what you should have on hand:
- Pricking Out Tool or Dibber: A small spatula-like tool, a pencil or even an old fork can work to gently ease seedlings from the soil without damaging their fragile roots.
- Seedling Containers: These may be plug trays with individual cells or small pots. Choose reusable, environmentally friendly options where possible.
- Good-Quality Compost: Look for a nutrient-rich, peat-free compost that supports organic growth and reflects your commitment to sustainable gardening.
- Watering Can with a Fine Rose: A watering can that produces a gentle shower helps to avoid dislodging delicate seedlings.
- Plant Labels: These help you keep track of different varieties and ensure that you know what each transplant needs.
- Additional Supplies: Optional items include a gentle spray bottle, a mini trowel, and a small container of organic fertiliser or compost tea for a post-transplant boost.
Pricking Out Your Seedlings
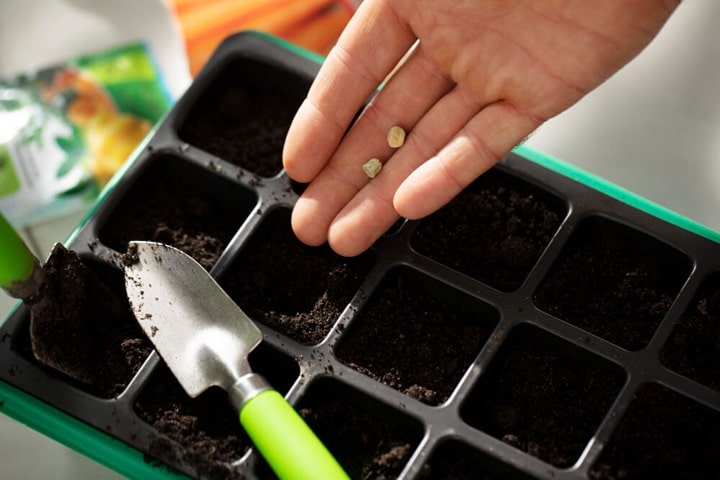
Pricking out simply refers to the process of separating seedlings that have been growing together in a seed tray. Once your seeds have germinated and developed their first pair of true leaves, it is time to give each young plant the space it needs to grow.
This practice prevents overcrowding, reduces competition for nutrients and light, and minimises the risk of disease such as damping-off.
When seeds are sown in a tray, they often emerge in clumps. While this is a promising sign of germination, it can soon lead to stunted growth if the seedlings are not spaced appropriately.
Pricking out allows you to:
- Reduce Competition: Each plant gets its own share of nutrients and water.
- Strengthen Roots: By transplanting, you encourage the formation of a robust root system.
- Improve Air Circulation: Better spacing means less humidity around the leaves, which helps prevent fungal diseases.
- Establish Healthy Development: With more room to grow, seedlings develop sturdier stems and more vibrant foliage.
How to Prick Out Seedlings
- Assess the Seedlings: When the first true leaves appear—these are the leaves that resemble the mature plant rather than the simple seed leaves (cotyledons)—it is time to separate the seedlings.
- Prepare Your Workstation: Have your prepared pots or plug trays ready with fresh compost. This keeps the seedlings’ transition smooth and minimises root disturbance.
- Gently Lift the Seedlings: Use your pricking out tool or even a pencil to carefully loosen the soil around a seedling. Remember, always handle the plant by one of its seed leaves rather than the stem, which can be easily damaged.
- Separate with Care: If the seedlings are tangled, gently tease them apart. Try to retain as much of the original root ball as possible to reduce transplant shock.
- Place in New Container: Once separated, transfer the seedling into its new home. Make a small hole in the compost, lower the seedling in so that the crown is at soil level, and then gently firm the compost around it.
- Water In: After transplanting, water the seedlings with a gentle shower from a watering can fitted with a fine rose attachment. This encourages the roots to settle and makes for a more secure transplant.
This process, though delicate, is immensely rewarding. It allows you to witness the very beginnings of your garden’s future, and with each carefully pricked seedling, you’re nurturing the potential for a resilient and productive garden.
Choosing Seedling Containers: Plugs vs Pots
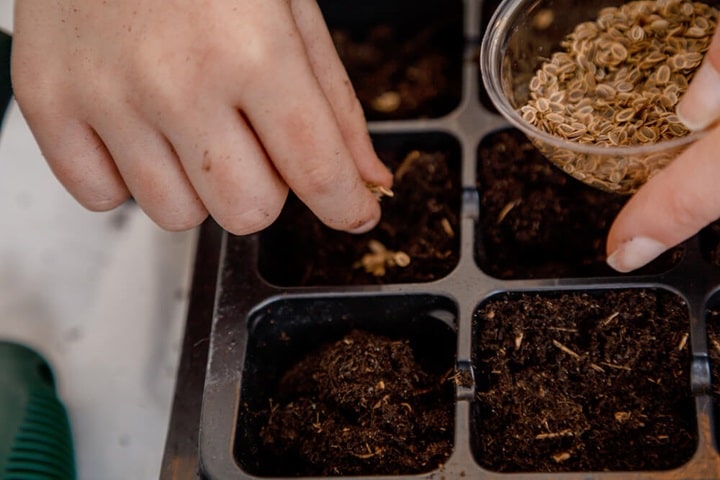
Once you have decided that your seedlings are ready to be pricked out, the next step is to choose the right container for each plant. Typically plug trays or pots are used, though soil blocks are potentially another sustainable option to consider.
Plugs
Plug trays consist of small cells in which each seedling can grow individually. They are ideal when you plan to transplant the seedlings relatively quickly. Their benefits include:
- Space Efficiency: Plug trays take up less space, making them ideal for small propagators or window sills.
- Resource Conservation: They use less compost and are easier to manage in a controlled environment.
- Cost-Effective: Buying or reusing plug trays can be more economical, especially when working on a larger scale.
However, plugs may need to be transferred into larger pots if the seedlings become too large or if outdoor conditions require further hardening off before final transplanting.
Pots
Individual pots are better suited for seedlings that may need a longer period to establish themselves before being planted into the garden. Their advantages include:
- Enhanced Growth: Larger pots give the roots more space to expand, which is particularly important for plants that will be in the ground for a long time.
- Reduced Handling: Transplanting from a pot to the garden is often less stressful for plants, as they are already accustomed to being in a larger container.
- Tailored Care: With individual pots, you can cater to the specific watering and nutrient needs of each plant, making them a favourite for more delicate or long-season crops.
Soil Blocks
In practice, a combination of each of the above may be used depending on your garden plan and the crop requirements. Some seedlings begin in plug trays and are later potted on individually before their final transplant into the garden bed or food forest.
Preparing Seedlings for Planting
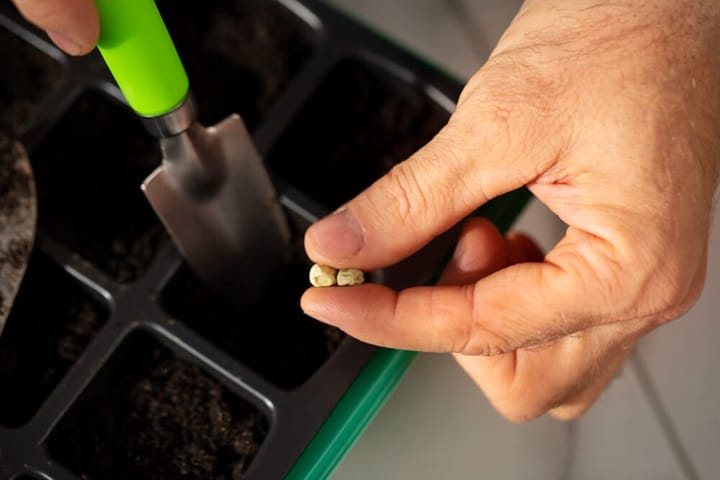
After pricking out, preparation is key to ensuring a smooth transition. This stage involves a few essential steps that guarantee your seedlings are ready to be planted out in a more permanent location.
Watering and Moisture Management
Before you transplant your seedlings, ensure that the soil around the roots is adequately moist. A well-watered seedling is less prone to transplant shock because the roots are not exposed to air for too long. If you notice that the seedlings have dried out, give them a gentle mist before you begin the transplanting process.
Assessing the Root System
Take a moment to inspect the root ball of each seedling. Healthy roots are white and firm, while discoloured or mushy roots may indicate issues with overwatering or disease. In permaculture, nurturing healthy roots is the foundation for building a resilient plant system.
Adjusting the Compost
Whether you are using fresh compost or have amended your seedling containers, ensure that the soil is light, well-draining and rich in organic matter. Adding a little well-rotted manure or organic fertiliser can give your transplants an extra boost, especially in the early stages of growth. Keep in mind that sustainable composting methods form an integral part of permaculture, reinforcing the cycle of natural nutrients.
Pre-Transplant Conditioning
Before moving seedlings to their final positions, it is beneficial to “prepare” them for their new environment. This might mean lightly brushing off excess soil or even giving them a gentle trim if the seedlings have become too leggy. By ensuring that each plant is in its best condition, you set the stage for a successful transplant.
Other Factors That Influence Seedling Size
While the act of pricking out and transplanting is central to early growth, other environmental factors can also influence seedling size and development. Understanding these factors is crucial to creating a thriving garden.
Light
Light is one of the most important variables in seedling development. Too little light can cause seedlings to become leggy and weak, while too much direct sunlight too early can scorch delicate leaves. In a permaculture setting, choosing the right spot for your seedlings is key—ideally, a bright, filtered light environment that mimics the dappled sunlight of a forest edge.
Temperature
Both the air and soil temperature affect how quickly a seedling develops. A consistent temperature, ideally between 15°C and 20°C (59°F to 68°F) for many crops, encourages steady growth. Sudden fluctuations can stress the plants, leading to stunted growth or even failure.
Spacing and Competition
Seedlings that are too closely spaced will compete for nutrients, light and water, resulting in smaller, less vigorous plants. Pricking out is not just about moving plants into new containers—it’s also about ensuring each plant has the room it needs to develop a strong, well-established root system.
Genetic Factors
Every plant variety has its own genetic blueprint that dictates its eventual size and growth habit. While environmental factors are crucial, it is important to recognise that some species naturally produce smaller seedlings than others. Observing and understanding the characteristics of your chosen crops can help you set realistic expectations during the early stages of growth.
Pest and Weed Pressure
n any garden, pests and weeds present challenges that can hamper the healthy development of seedlings. In permaculture, the aim is to work with nature rather than against it by encouraging natural predators and implementing sustainable control methods.
Organic Pest Management
Seedlings are particularly vulnerable to aphids, slugs and fungal infections. Instead of resorting to chemical pesticides, consider:
- Introducing Beneficial Insects: Ladybirds, lacewings and other predatory insects can naturally control aphid populations.
- Using Natural Sprays: A mild solution of neem oil or diluted garlic and chilli can help deter pests.
- Maintaining Hygiene: Remove any dead or damaged leaves promptly to reduce the risk of disease.
Weed Control
Weeds compete with seedlings for nutrients and water. Mulching around your transplants can be an effective way to suppress weeds while also helping to regulate soil moisture. A light layer of organic mulch (such as straw or well-rotted compost) also enriches the soil as it decomposes.
In a permaculture system, these organic methods not only protect your seedlings but also contribute to the broader ecosystem by fostering biodiversity and soil health.
Soil Type and Watering Infrastructure
The foundation of every healthy plant is the soil in which it grows. For seedlings, the right soil mix and a well-designed watering system are indispensable.
Choosing the Right Soil
A nutrient-rich, well-draining soil mix is essential for seedling growth. In keeping with sustainable practices, opt for peat-free compost that has been enriched with organic matter.
Watering Infrastructure
Seedlings require a gentle, consistent supply of water. Overhead watering can be too forceful and risk dislodging tender transplants. Consider a drip irrigation system, use a fine spray nozzle or head on a watering can and mulch around young seedlings to retain moisture in the soil or growing medium.
Hardening Off Plants
Before your seedlings can be moved permanently outdoors, they must be gradually acclimatised to the harsher conditions of the garden—a process known as hardening off. This step is essential to reduce transplant shock and to prepare the plants for full sunlight, wind and fluctuations in temperature.
Hardening off is much like a boot camp for your plants. It teaches them to cope with the natural environment while retaining the vitality they’ve built indoors.
How to Transplant Seedlings
Once your seedlings are hardened off and ready for the garden, it’s time for the final transplant.
To know how to transplant seedlings:
- Prepare the intended growing area.
- Gently take the seedling from its container. Hold it by the leaves rather than the stem, and try to keep as much of the root ball intact as possible.
- Place the seedling into the hole so that the crown (where the stem meets the roots) is at the same level as the soil surface. For certain crops, such as tomatoes, you may bury a portion of the stem to encourage additional root growth.
- Firm the soil into place around the plant.
Caring for Your Seedlings
Water, mulch, provide shade, and on an ongoing basis, monitor your plants and use organic fertilizers sparingly where necessary.
Protecting New Transplants
Even after successful transplanting and initial care, new plants need extra protection as they continue to adjust to their permanent home. New transplants are still vulnerable to environmental stress, pests and sudden weather changes.
Use cloches, fleece or row covers where necessary, protect with mulches and keep a close eye on transplants to make sure you can nip potential problems in the bud.
For other guides about seedlings, try these from our blog:
FAQs
How big should seedlings be before transplanting?
Seedlings should be transplanted once they have developed their first pair of true leaves and appear sturdy enough to handle a move.
How long can seedlings stay in trays?
Seedlings are meant to be in trays only for a short period. Ideally, they should be pricked out or potted on within three to four weeks of germination. Leaving them in overcrowded conditions for too long can lead to root binding, stunted growth and increased susceptibility to disease. However, the exact timing depends on the species and growing conditions.
Do seedlings get transplant shock?
Yes, seedlings can experience transplant shock when their roots are disturbed and they are moved from a controlled environment to the garden. However, by following careful transplanting techniques—such as handling them gently, ensuring the root ball remains mostly intact, watering immediately and hardening off beforehand—you can significantly reduce the risk of shock.
How do I know when my seedlings are ready to transplant?
Knowing when your seedlings are ready is a combination of observation and experience. Look for the following indicators:
Development of True Leaves: Once the first true leaves appear (beyond the initial cotyledons), your seedlings are likely ready for the next stage.
Healthy Root Systems: When you gently lift a seedling and see that it has formed a modest but firm root ball, it is a good sign that the plant is ready for transplanting.
Appropriate Size: The seedlings should be large enough to handle without significant damage—usually when they have two to three true leaves and are not overly leggy.
Crowding: If your seedlings have outgrown their tray and are competing for light and nutrients, it’s time to give each plant its own space.
Sources
Celtic Farm. (2020) Buying a Dibbler Tool: What You Need to Know. [online] Available at: https://www.thecelticfarm.com/just-what-is-a-garden-dibber-or-dibbler/