


Sowing seeds indoors allows polytunnel uk gardeners to get a head start on the growing season, even when outdoor conditions are less than ideal. By controlling temperature, light, and humidity, you can germinate seeds earlier and grow stronger, healthier plants. In this article, learn the best times on how and when to sow seeds indoors successfully.
Quick Facts
Whether you’re starting tomatoes, peppers, or leafy greens, understanding the fundamentals will lead to success.
Key benefits of indoor seed sowing:
- Early start to the growing season.
- Better germination rates.
- Protection from pests and diseases.
- Greater control over growing conditions.
To germinate successfully, seeds need:
- Water – not too much and not too little.
- Oxygen – air in the growing medium – not excluded due to excess water/ compaction.
- The right temperatures. Find optimal temperatures for specific vegetable crops here.
- Some seeds also need light to germinate successfully, while others prefer light to be excluded. This is why sowing depth is important.
What You’ll Need To Sow Seeds Indoors
To sow seeds indoors successfully, you’ll require:
- Seeds for the plants you wish to grow.
- Seed trays, module trays, or pots, or soil blocks.
- Seed starting potting mix.
- Watering can with a fine rose.
- Optional: heated propagator.
- Optional: grow lights.
(The final two items increase the number of seeds that can be sown successfully, and can increase germination rates, especially early in the year.)
Why Sow Under Cover?
Throughout the year, even when not sowing seeds indoors in your home, the UK’s unpredictable weather makes sowing under cover an attractive option. Polytunnels and greenhouses create a sheltered environment, protecting seeds from frost, heavy rain, and strong winds. This leads to:
- Enhanced germination rates.
- Stronger seedlings.
- Extended growing seasons.
Sowing seeds directly can be an option in a polytunnel, even where it would be not be a viable option outdoors in other parts of a garden. You can begin sowing earlier in spring, and direct sow/ successional sow for longer in autumn.
You can also use a polytunnel to sow seeds for later transplantation, either into the polytunnel beds or to another part of the garden.
The polytunnel offers a certain degree of protection, though it should be noted that it may, if unheated, still be too cold to sow some of the earliest sown summer crops.
In such cases, sowing indoors, in your home, or in a heated propagator, will generally be the best option. Indoor sowing or the use of a heated propagator is particularly beneficial for slow-growing or heat-loving crops such as peppers, aubergines, and tomatoes.
Sowing Seeds Indoors
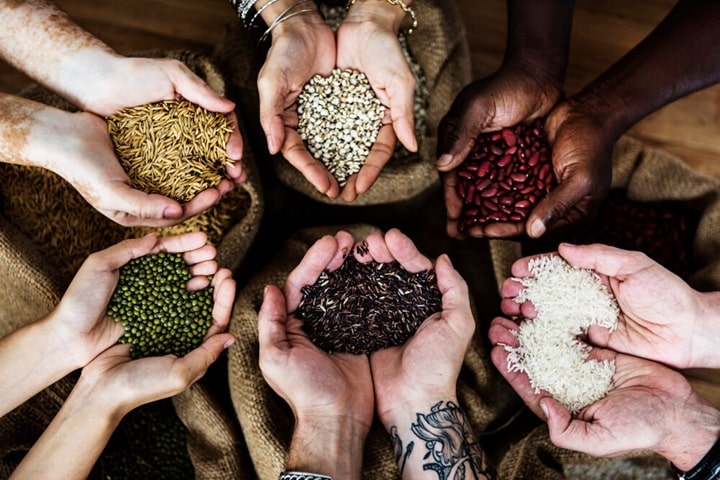
If you want to sow seeds indoors, either for an indoors garden, or to later transplant into your polytunnel or other parts of your garden, you need to know when to sow, and the specifics for sowing different crops. Check out our crop guides for more information about when to sow specific crops, but remember that there is some variation in timing depending on where you live, and the conditions to be found there,
Remember, as well as sowing seeds, you might plant bulbs, corms or tubers indoors to transplant later into your polytunnel or elsewhere in your garden. You might also propagate plants through cuttings etc. and these may be potted up indoors for later transplantation too.
Know When to Sow
Timing is crucial for successful seed germination and plant growth. Each crop has its ideal sowing period, typically listed on the seed packet. As a general guide to indoors sowing:
- January – March – sow slow-maturing summer crops like peppers, aubergines and tomatoes. Consider sowing broad beans and early peas to plant out into the polytunnel.
- March – May – sow most summer crops, as well as crops for following seasons that are slower to grow.
- May – July – successional sow quick growing crops for summer/ autumn, and sow certain cabbage family crops for winter and the following spring.
Spacing and Planting Depth
Correct spacing and planting depth ensure healthy seedlings:
- Follow the guidelines on the seed packet for specific depth and spacing.
- As a rule of thumb, plant seeds at a depth twice their size.
- Avoid overcrowding to prevent competition for light, nutrients, and water.
Water Needs
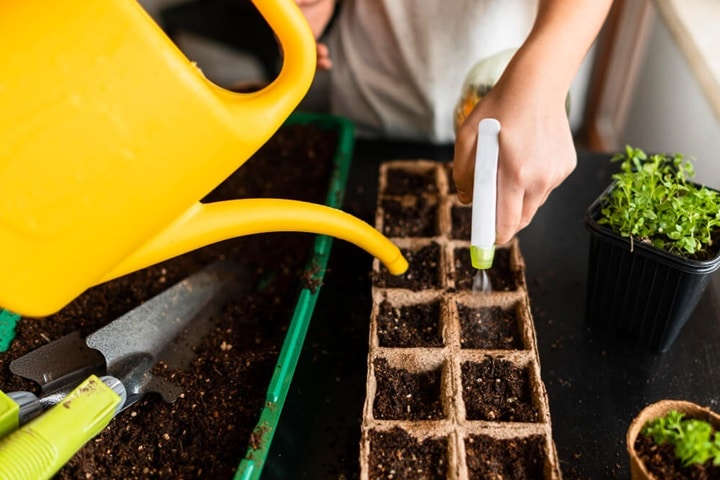
Consistent moisture is essential for seed germination and early growth:
- Keep the soil evenly moist but not waterlogged.
- Use a fine mist to water seedlings gently without disturbing the soil.
- Ensure good drainage to prevent root rot.
Temperature Needs
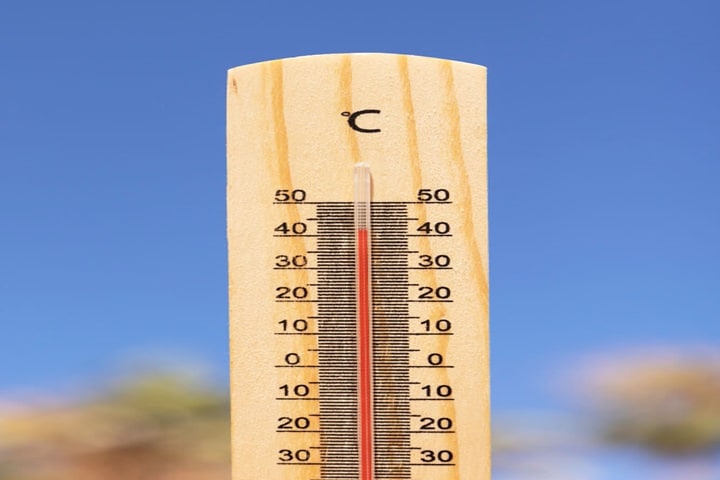
Maintaining the right temperature is critical for germination:
- Most seeds germinate best at 18-24°C, though it is a good idea to check optimal seed germination temperatures for plants you wish to grow.
- It can be a good idea to use a thermometer to monitor the temperature of your growing area.
- When sowing in cooler conditions, use heat mats or propagators to provide warmth. Heated propagators can help you to provide consistent temperatures and can improve germination rates, especially for crops sown early in the year.
Light Needs

Some seeds need light for germination to take place, while other germinate in the dark. This is one key reason why understanding the right sowing depth for the seeds you wish to sow can be so important. Those that need light will be covered only very lightly, or placed on the surface of the growing medium.
Adequate light is also vital once germination has taken place in order to prevent leggy, weak seedlings:
- Place seedlings in a bright, south-facing window or another bright spot inside your home.
- Where light is not sufficient for the needs of seedlings, consider grow lights.
- Use full-spectrum LED grow lights if natural light is insufficient, especially in early spring.
Choosing Containers for Seed Sowing Indoors
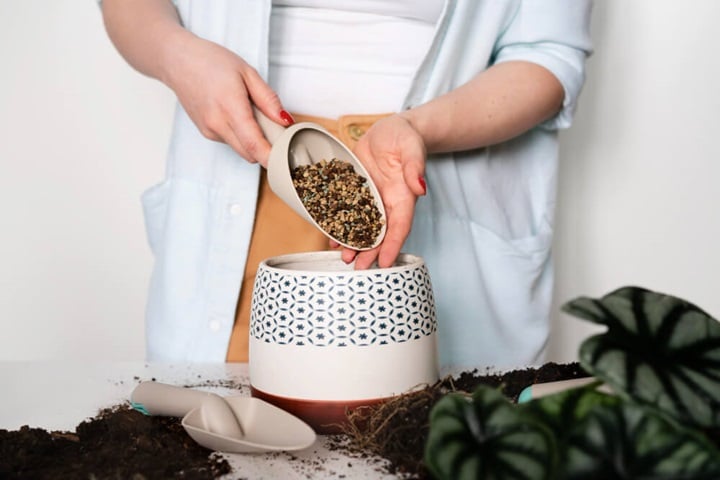
The right container depends on the type of plant, the speed of its growth, and other characteristics.
- Seed trays: Ideal for mass sowing of small seeds like lettuce or basil.
- Module trays: Suitable for individual seeds like tomatoes or peppers, reducing the need for pricking out. Toilet roll tubes and other upcycled packaging can also work well.
- Pots: Useful for larger seeds like courgettes or sunflowers. Remember not to buy new plastic pots if you can avoid it. Reuse existing pots for as long as possible, and use old yogurt pots and other household recyclables with holes in the base to reduce waste in your garden and avoid buying harmful products.
Seed Tray vs Module Trays
Seed trays allow you to sow many seeds in a compact area, but seedlings will require pricking out and transplanting once they develop their first true leaves. Module trays, on the other hand, give each seed its own cell, reducing transplant shock and making it easier to handle.
Soil Blocks
Soil blocks are an eco-friendly alternative to plastic trays. These compacted cubes of soil provide excellent root aeration and reduce transplant shock, as there’s no container to remove when planting out. Small, biodegradable pots (or toilet roll tubes) are another eco-friendly and sustainable option.
Seed Starting Potting Mix
Using the right potting mix is crucial for successful germination. A seed-starting mix should be:
- Light and airy to promote root growth.
- Free-draining to prevent waterlogging.
- Reasonably nutrient-rich to support early growth once seeds have germinated and seedlings start to grow.
Though commercial blends are formulated to give the best results, you can also consider making your own using your own homemade compost and other organic materials if you want to take a more sustainable and eco-friendly approach.
Pricking Out
Pricking out is the process of transplanting seedlings from crowded seed trays into individual pots or modules to give them more space to grow. This may often be necessary if you have not sown seeds into individual containers or soil blocks, and it is usually undertaken when seedlings develop their first true leaves.
If we do not prick out seedlings at the right time, their growth can be stunted, and they may even fail to thrive altogether. Young seedlings can be prone to a fungal issue called damping off, which is more likely to occur if they are not pricked out in time.
Before you start pricking out seedlings, it is a good idea to gather everything that you will need. You don’t want to have to put everything down to find other elements once you begin.
Fortunately, you don’t need a lot to get this job done. You will just need:
- Containers or soil blocks in which to place the seeds that you are pricking out. (Unless you are planting seedlings straight out into a well prepared seed bed your garden.)
- The growing medium for those containers, or to create the blocks.
- A delicate tool that you can use to gently lever the seedlings from their current growing positions. And perhaps another tool to make the holes in which to place them.
- Labels (to keep track of what all your seedlings are) and something to write on them.
While you are pricking out seedlings, it is also handy to have access to water so you can rinse your hands between times, as you might want to label up some seeds before you prick out some more.
Two tools are traditionally used in horticulture for pricking out procedures, widgers and dibbers.
Widgers are shaped like a very thin trowel or spatula and are often used to lift out seedlings without damaging the roots. Dibbers are thin, pointed, pen-like tools used to make holes, and sometimes to firm in seedlings when pricking out.
However, I would certainly not say that these tools are essential for new gardeners. You can make do perfectly well without them. I usually use a small wooden stick (a lolly pop stick could work just fine) for pricking out, both for easing up the seedlings and for making the holes. You might also use a small spoon and a pencil – or other small implements that you have lying around.
Steps for successful pricking out:
- Prepare the new containers: Fill pots or module trays with a suitable potting mix and water lightly.
- Loosen the seedlings: Use a dibber or a pencil to gently lift seedlings from the seed tray, being careful not to damage the roots.
- Handle by the leaves: Avoid touching the delicate stems; hold seedlings by their leaves to reduce the risk of damage.
- Transplant carefully: Make a small hole in the new container, place the seedling in it, and gently firm the soil around the roots.
- Water thoroughly: After transplanting, water the seedlings to help them settle into their new environment.
- Aftercare
Once seeds are sown, proper care is essential:
- Watering: Keep the soil consistently moist but not waterlogged. Use a fine spray to avoid displacing seeds.
- Light: Place seedlings in a bright location. If natural light is insufficient, consider using grow lights.
- Temperature: Maintain an even temperature appropriate for the crop, typically 18-24°C for most seeds.
- Ventilation: Open propagators or polythene covers daily to reduce the risk of fungal diseases.
- Hardening off: Before transplanting outdoors, gradually expose seedlings to outdoor conditions over 7-10 days.
By following these tips and advice, UK gardeners can master the art of indoor seed sowing, ensuring healthy plants and bountiful harvests year-round.
FAQs
Do you need grow lights for starting vegetable seeds indoors?
Grow lights can be beneficial, especially during the UK’s darker months when natural light levels are low. They ensure seedlings receive enough light to grow strong and prevent leggy, weak plants. Full-spectrum LED grow lights are a cost-effective and energy-efficient option.
Can I start vegetable seeds indoors in an unheated greenhouse or polytunnel?
Yes, in some cases, but germination may be slower in colder conditions. Use a heated propagator or heat mat to maintain consistent soil temperatures, especially for warmth-loving crops. Alternatively, choose hardy crops like brassicas, which tolerate cooler conditions.
What is the ideal temperature for sowing seeds in a polytunnel?
Most vegetable seeds germinate best between 18-24°C. Use a thermometer to monitor soil and air temperatures, and consider adding insulation to your polytunnel in early spring or late autumn to maintain warmth, adding thermal mass, adding row covers, mini tunnels or cloches, and/or creating a hot bed for early sowing.
Sources
Wellbank, L., Copeland, B., (2024) 10 Bulbs to Plant in the Spring for Late Summer Blooms. Martha Stewart. [online] Available at: https://www.marthastewart.com/8119440/flower-bulbs-plant-in-spring-summer-color [accessed 04/01/2024]






