Did you know that growing your own oats at home can be both rewarding and practical? This versatile grain is simpler to cultivate than you might think.
Growing oats in the UK is a lot easier than you might think, especially with the aid of polytunnels to help maintain a protective environment for the crops. In this article, we will walk you through the essentials of oat growing, from sowing seeds to harvest. Whether you have a spacious backyard or a small garden plot, learn how to grow oats efficiently and effectively.
Key points:
- Understand the basic requirements: light, water, and soil for successful oat crops.
- Discover the ideal times and conditions for planting and harvesting oats.
- Learn about common pests and diseases that could affect your oat crops.
- Find out how to process and store your oats after harvesting.
- Explore different oat recipes beyond the breakfast table.
For more helpful guides on growing in a polytunnel, check out our Top of the Crops resource page.
What are Oats?
Oats, scientifically known as Avena sativa, are a popular cereal grain favoured not just for culinary uses but also for agricultural benefits. Growing oats in your garden can provide more than just a bowl of oatmeal (porridge, muesli, etc); understanding how oats grow and what oats look like can improve both your garden’s health and your diet.
- Common Name(s): Oats, common oat
- Harvesting: 100-120 days after planting
- Sunlight: Prefers full sun but tolerates partial shade
- Water: Approximately 1 inch of water weekly
- Fertilisation: Optional; applying nitrogen can enhance growth
- Companion planting: Oats have a fast growth rate compared to other crops, especially when using organic mixtures. Plant clover or vetches alongside your oat crops to further progress their growth.
- Varieties: Oats are mainly made up of two varieties – conventional and dwarf – both of which can be defined by their height, as of which, dwarf varieties usually consist of 15-20cm, making them smaller than common conventional varieties.
- Pests: Aphids, armyworms, wireworms, and birds
- Diseases: Anthracnose, crown rust, powdery mildew, loose smut, barley yellow dwarf virus, and scab
| Jan | Feb | Mar | Apr | May | Jun | Jul | Aug | Sep | Oct | Nov | Dec | |
| Sow outdoors | ✅ | ✅ | ✅ | |||||||||
| Harvest | ✅ | ✅ | ✅ | ✅ |
Can You Grow Oats in Your Own Garden?
Absolutely! Growing oats at home is quite simple, even in smaller spaces. Oats have various uses; from being rolled into oatmeal, ground into flour for baking, or even used in brewing. With the advent of hull-less varieties, how to grow oats at home has become more accessible since these require minimal processing post-harvest.
How Do Oats Grow: Step by Step
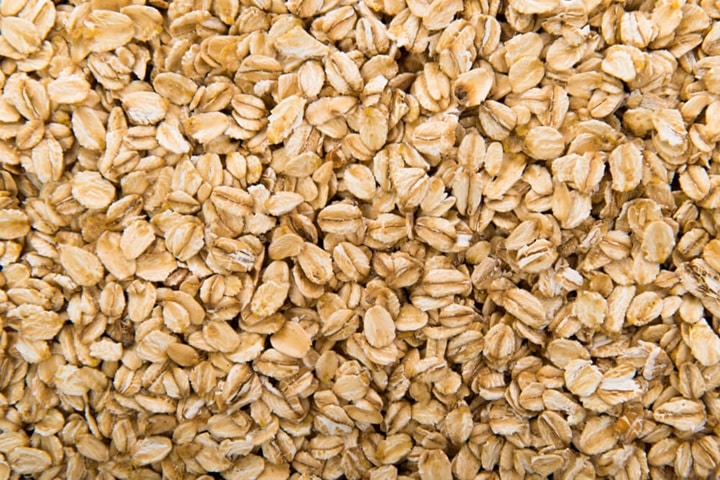
Here are the key details that you will need for growing oats, step by step.
1. Planting Your Oats
To start, select a sunny spot with well-draining soil. Oats growing begins with broadcasting seeds evenly across your prepared area. Lightly rake the soil to cover the seeds slightly—about an inch deep—to protect them from birds and aid in germination.
Spacing the seeds approximately 7 cm (3 in) apart and at a depth of 1 cm (1/2 in). If you’re planting oats with other green manures, increase the spacing to about 20 cm (8 in). Oats work well alongside slower-growing legumes as a companion crop, helping to stabilise the legumes as they grow.
NOTE: Be sure to remove any weeds from your gardening patch if any are present, since they can give your oat crops a hard time growing if not removed correctly. Use an appropriate weeding tool and loosen the soil near the weeds and pull out separately.
2. Caring for Your Oat Plants
Keep the soil consistently moist as your oats germinate and start to grow, ensuring they receive more water than other grains typically need. As oats grow, they require very little weeding due to their density, which naturally suppresses most weeds.
After about 45 days, you will notice the green kernels on the stalks begin to turn cream-coloured as they mature. Oats usually reach a height of 2 to 5 feet, depending on the variety and growing conditions.
3. Pruning and Training
Oats require minimal intervention once planted. There’s no need for pruning; the focus should remain on allowing the plants to grow until the seed heads are mature. Post-harvest, the leftover plant material can be used as green manure by incorporating it back into the soil, enhancing soil structure and fertility.
You can also use this table that we have crafted below to clarify your notes for oats growing.
| Task | Notes |
| Soil | Any average, well drained soil. |
| Position | Full sun. |
| Frost tolerant | Oats are a cool-weather crop that can tolerate light frosts but is usually killed by temperatures below-15C (5F). |
| Feeding | None generally needed, especially when oats are grown with nitrogen-fixing green manures such as winter peas, winter beans or hairy vetch. |
| Spacing | Single Plants: 10cm (3″) each way (minimum)Rows: 10cm (3″) with 10cm (3″) row gap (minimum) |
4. Harvesting Oats
Don’t wait too long to harvest oats. The kernels should still be soft to the touch, easily indented with a fingernail. This usually occurs before they harden completely, preventing grain loss.
To harvest, cut the seed heads as high up on the stalk as possible. This method reduces the amount of straw mixed with the grains, simplifying the threshing process.
5. Curing and Threshing
After harvesting, allow the oats to cure—this process may take from several days to weeks depending on the weather. To thresh, spread the oats on a tarp and gently beat them to loosen the grains from the chaff. Use the wind to separate the lighter chaff from the heavier grains.
6. Storing
Store the threshed oats in an airtight container in a cool, dark place. Properly stored, dry oats can last up to three months. If cooked, oats can be refrigerated and used within 4-6 days.
You can also use any remaining discarded stalks for bedding for farm animals!
Troubleshooting
- Watering: Oats are generally resilient but monitoring water levels is crucial. Over or under-watering can be detrimental. The soil should be allowed to dry out to about an inch deep before additional watering.
- Overwintering: Oats are generally the most sensitive to winter conditions among cereal crops, with a higher risk of plant loss during cold seasons. The ability of oats to survive overwinter largely depends on the specific location. However, properly consolidating the seedbed can help minimise the impact of frost heave and improve winter survival rates.
- Pests and Diseases: While oats are adaptable, they are not immune to problems such as aphids and crown rust. Regular checks and preventive treatments can help keep these issues at bay.
- Herbs: Be aware that decomposing oat plants can inhibit weed seed germination. This makes oats an excellent preceding crop in rotation, but it’s essential to wait about three weeks before planting new seeds in the same area.
Did you know that oats have become a great resource for food sources in recent years, including a popular alternative for milk.
Using Oats as a Cover Crop
Oats have long been valued as an effective cover crop, recognised for their rapid biomass development and ability to suppress weeds. They play a crucial role in absorbing excess nutrients and providing mulch for low- or zero-till farming systems.
When sown in spring, oats contribute significantly to soil organic matter. Alternatively, planting oats in late summer produces nitrogen-rich mulch once the plants die off in winter. Regular use of oats as a cover crop can also improve the soil’s ability to isolate carbon, potentially advancing farmers towards earning carbon credits.
To cultivate oats as a cover crop, scatter the seeds across prepared soil, spacing them about 3 inches (7 cm) apart, and avoid thinning them. If planting oats with other crops, it’s advisable to widen the row spacing to at least 8 inches (20 cm) to ensure each plant has sufficient space and resources. This practice not only prevents soil erosion but also improves soil fertility.
Grow Oats Successfully
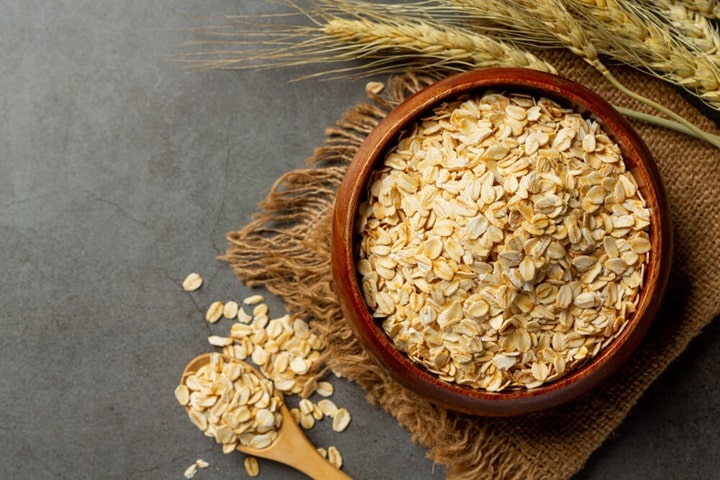
By understanding how oats grow, what oats look like, and the care they require, you can successfully cultivate this versatile crop in their own gardens, so that you can easily enjoy both the gardening process and the harvests. From sowing to storage, each step is crucial in ensuring a bountiful oat yield that is as rewarding as it is nutritious.
Got a great yield from your homegrown oats? Keep the bounty going year after year by saving your seeds. Find out how to preserve the best seeds and ensure a successful next crop with our guide on saving seeds.
FAQs
How long do oats take to grow?
Oats typically take about 90 to 110 days from planting to harvest.
Can you grow oats in the UK?
Yes, oats can be successfully grown in the UK, especially in regions with cooler, wetter climates.
Is it worth growing your own oats?
Growing your own oats can be rewarding if you have enough space and use oats regularly, but it requires more space and effort than many other home-grown crops.
Will oats grow back after cutting?
Oats are generally an annual crop and do not grow back after cutting; they need to be replanted each year.
Can you grow oats in a polytunnel?
Yes, you can grow oats in a polytunnel, especially to protect them from extreme weather and extend the growing season in cooler climates.
Sources
BBC Good Food. (2020) Healthy Oat Recipes. [online] Available at: https://www.bbcgoodfood.com/recipes/collection/healthy-oat-recipes [accessed 09/07/24]