Ready to keep your greenhouse or polytunnel plants thriving through the winter? Insulating your growing structure can make all the difference when temperatures drop.
In this article, we’ll explore effective methods on how to insulate a greenhouse or polytunnel for winter. From using bubble polythene to repurposing everyday materials, we’ll cover a range of techniques to maintain warmth and protect your plants from the cold. Learn how to create an insulated growing environment that reduces heat loss by up to 50%, prevents draughts, and keeps your plants safe through the harshest conditions.
Key Points:
- How to insulate a greenhouse or polytunnel using bubble polythene and other materials with proven thermal performance
- Simple ways to protect plants from freezing temperatures and reduce heating costs by 40-60%
- Tips for maintaining insulation at night and through winter months in both glass and polythene structures
- Cost-effective methods that pay for themselves within 8-14 months
Why Greenhouse & Polytunnel Insulation is Important
Winter can be a tough time for gardeners, especially when it comes to protecting plants from the cold. Your greenhouse or polytunnel provides a sheltered environment, but it may not always be enough to keep plants warm, especially during frosty nights. Proper insulation becomes essential as it helps to maintain an ideal temperature, reducing the risk of plant damage and allowing them to thrive even during colder months.
Both glass greenhouses and polythene polytunnels benefit significantly from additional insulation, though the approaches may vary slightly:
- Glass Greenhouses: Excellent light transmission but higher heat loss through glazing
- Polytunnels: Better heat retention naturally but may need reinforcement in extreme cold
An insulated growing structure helps to:
- Prevent heat loss – reducing overnight temperature drops from 15-20°C to just 5-8°C
- Reduce draughts – maintaining consistent temperatures within ±2°C
- Save on heating costs – cutting energy bills by 40-60% annually
- Keep plants protected from wind and rain while maintaining 85-90% light transmission
- Allow light to filter through while trapping heat inside for 24-hour warmth
For gardeners who rely on their greenhouse or polytunnel during winter, learning how to insulate properly will save both time and energy while ensuring that plants get the best environment to grow.
Materials You’ll Need & Cost Analysis
Before starting the insulation process, it’s important to gather the right materials and understand the investment involved. Here’s a comprehensive list of essentials with their thermal performance:
Essential Materials:
- Measuring tape – to measure the dimensions of your structure
- Horticultural bubble polythene – choose 20mm bubble wrap for optimal thermal performance (R-value of 1.7-2.1)
- Scissors or craft knife – for precise cutting to size
- Fixing materials – for greenhouses: nails, drawing pins, clips; for polytunnels: clips or ties that won’t damage the cover
- Weatherproof tape – for sealing gaps between sheets and preventing draughts
- Maximum-minimum thermometer – to monitor insulation effectiveness
| Structure Size | Bubble Wrap Cost | Installation Time | Annual Heating Savings* | Payback Period |
| 6x4ft | £25-35 | 2-3 hours | £40-60 | 8-10 months |
| 8x6ft | £40-55 | 3-4 hours | £65-95 | 10-12 months |
| 10x8ft | £65-85 | 4-5 hours | £100-150 | 12-14 months |
| 14x8ft | £85-120 | 5-6 hours | £140-200 | 12-16 months |
*Based on 40% heat loss reduction and average UK energy costs
Material Performance Guide:
- 20mm Bubble Polythene: 35-45% heat loss reduction, 85-90% light transmission, 3-5 year lifespan
- Thermal Foil Insulation: 50-60% heat loss reduction, 80-85% light transmission, 5-7 year lifespan
Step-by-Step: How to Insulate a Greenhouse or Polytunnel
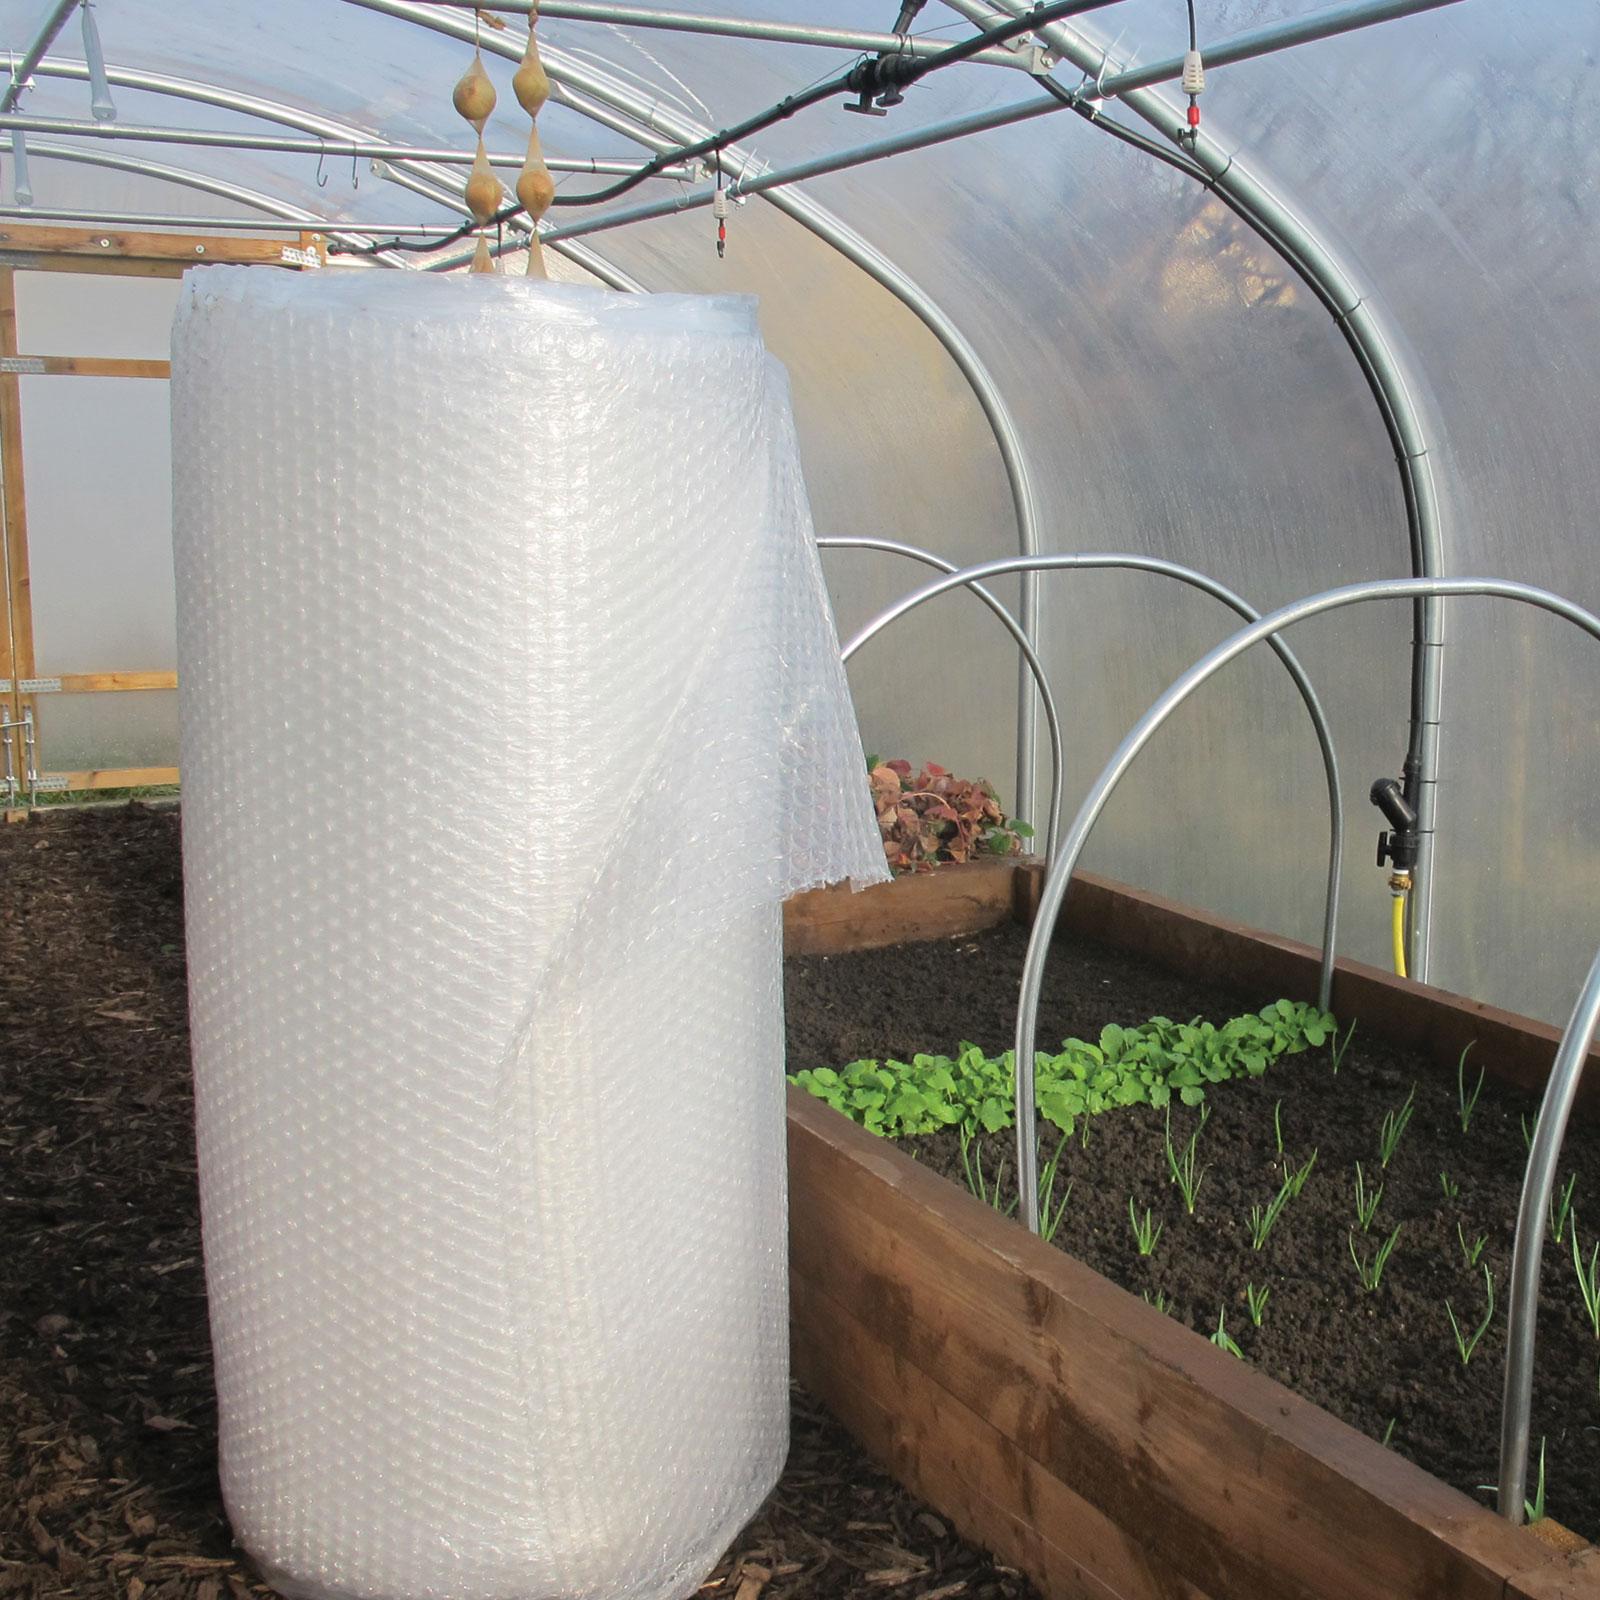
For winter insulation, bubble polythene is one of the best materials for both greenhouses and polytunnels, offering excellent thermal performance at an affordable price. Here’s how to insulate your growing structure step-by-step for maximum effectiveness:
Optimal Timing: Install insulation in early to mid-October, before the first frosts arrive, allowing you to test the system’s performance.
1. Measure and Calculate Materials
Before buying your insulation materials, use a measuring tape to determine the dimensions of all surfaces. Add 10% extra for overlaps and waste:
- Standard 8x6ft greenhouse: approximately 15-20m² of material
- 14x8ft polytunnel: approximately 25-30m² of material
2. Prepare Your Structure
For Greenhouses: Clean all glazing surfaces to maintain maximum light transmission (aim for 85-90%). Check glazing bars are secure and ensure all vents operate smoothly.
For Polytunnels: Inspect the polythene cover for any tears or weak spots. Clean the interior framework and check door mechanisms operate properly.
3. Install Side Insulation
Greenhouse Installation: Start with the north-facing wall (least light reduction). Secure bubble polythene with smooth side facing the glazing. Use nails, drawing pins, or spring clips, ensuring material is taut to prevent air gaps.
Polytunnel Installation: Attach insulation to the interior framework using clips or ties that won’t puncture the outer cover. Work from ground level upward, following the curved structure. Secure every 60cm along the hoops.
4. Roof/Top Insulation
Greenhouses: Attach bubble wrap to the ridge and spread evenly along glazing bars. Proper roof insulation prevents up to 60% of total heat loss.
Polytunnels: Install insulation following the arch shape, ensuring it doesn’t touch the outer polythene cover directly (maintain 2-3cm gap to prevent condensation issues). Secure to the internal framework rather than the cover itself.
5. Doors, Vents and Openings
Greenhouses: Cut and fasten bubble wrap around windows, vents, and louvres so they remain functional. Use removable sections for frequently used openings and maintain 10mm clearance around moving parts.
Polytunnels: Create removable door panels using bubble wrap attached to a lightweight frame. Ensure vents (if fitted) can still operate. For roll-up sides, create sections that can be easily removed when ventilation is needed.
Performance Check: A properly insulated structure should show overnight temperature drops of less than 5°C and reach target temperatures 2-3 hours faster than uninsulated structures.
Overlap all sheets by 2-3cm and seal with weatherproof tape to eliminate draughts.
By following these steps, you can ensure that your greenhouse or polytunnel stays warmer throughout the winter, reducing energy costs by 40-60% and protecting your plants effectively.
Looking for even more ways to keep your growing structure warm? Combine insulation with efficient heating methods – read our winter heating tips to maximize your energy savings and see our comprehensive guide on winter heating options for complete solutions.
Additional Tips for Winter Insulation
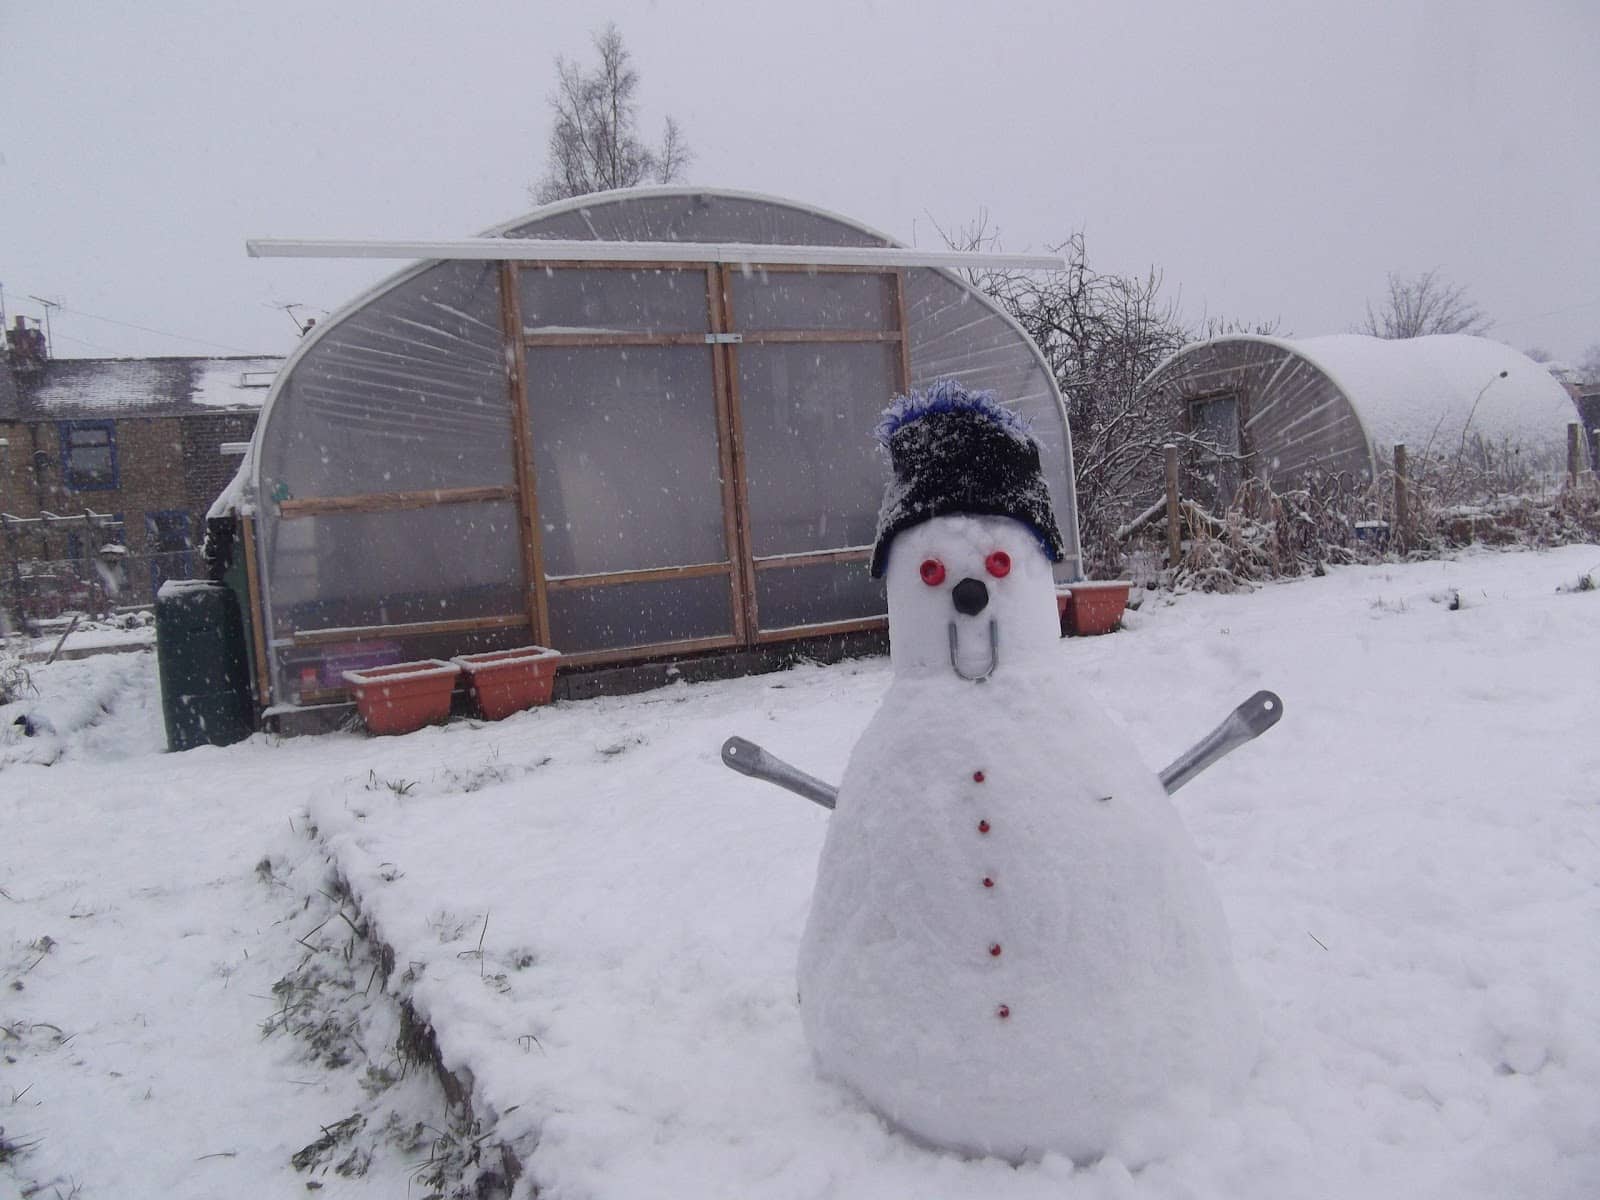
To enhance your insulation for winter, check out our polytunnel covers for durable and weather-resistant materials that help retain heat and protect your plants.
While bubble polythene is a popular choice, there are other materials and methods that can boost your greenhouse’s thermal performance during winter.
Snow as Natural Insulation
Snow can act as a natural insulator with an R-value of approximately 1.0 per inch, creating a ‘blanket’ that can improve heat retention by 15-20%. However, be careful not to let snow build up on the sun-facing side of your roof, as this will block essential light from entering and can reduce internal temperatures by 3-5°C.
Thermal Mass Integration
Combine insulation with thermal mass for 24-hour temperature stability:
- Black water barrels: Store 200-300 litres per 6x8ft greenhouse – these absorb heat during the day and release it at night, reducing temperature fluctuations by up to 8°C
- Brick or stone paths: Position along the floor to absorb and slowly release solar heat
- Concrete blocks: Place along the north wall for maximum thermal effect
For a natural heating method that works perfectly with insulation, learn how to create a hot bed system that generates consistent warmth throughout winter.
Thermal Foil Insulation
For premium performance, consider thermal foil insulation with bubble plastic sandwiched between two layers of silver foil. This material achieves 50-60% heat loss reduction while maintaining 80-85% light transmission. Applying this foil to the north-facing side of the greenhouse provides excellent warmth retention with minimal light loss.
Insulating Pots and Plants
Plants in pots lose heat 3-4 times faster than those in ground soil. Wrapping pots with bubble wrap or placing them in old compost bags stuffed with newspaper or straw can maintain root temperatures 5-8°C warmer. For seedlings, recycled polystyrene boxes provide excellent insulation – fishmongers often give these away free, making this a cost-effective protection method.
For additional frost protection products and specialized equipment, explore our frost protection range designed to work alongside insulation systems.
Insulating Your Greenhouse at Night
As temperatures drop in the evening, it’s crucial to trap as much of the day’s accumulated solar heat as possible. Effective night-time insulation can maintain temperatures 8-12°C above outside air temperature, significantly reducing frost damage risk.
Thermal Screens and Night Covers
While professional thermal screens offer 60-70% heat retention, budget-friendly alternatives work effectively:
- Horticultural fleece: Provides 3-5°C temperature protection when draped over plants
- Old blankets or thick curtains: Can maintain 4-6°C temperature differential
- Bubble wrap layers: Double-layering can achieve 7-10°C protection on coldest nights
Important: Remove these coverings by 9 AM to ensure plants receive adequate light for photosynthesis.
Thermal Insulation Foil for Night Use
Fixing thermal insulation foil to the inside of the greenhouse roof creates a reflective barrier that can extend warmth retention by 4-6 hours after sunset. This technique is particularly effective on clear, cold nights when radiation cooling is most severe.
Performance Tip: Monitor with a min/max thermometer – well-insulated greenhouses should maintain temperatures within 8-10°C of peak daytime levels throughout the night.
Winter Maintenance & Troubleshooting
For comprehensive winter preparation beyond insulation, see our complete guide on ensuring your polytunnel survives autumn and winter which covers all aspects of winter readiness.
Monthly Maintenance Schedule
November-December:
- Check insulation weekly for tears or loose fixings
- Monitor humidity levels (should remain below 80% to prevent fungal issues)
- Verify temperature consistency using min/max thermometer
January-February:
- Inspect for ice damage after severe weather
- Clear snow from south-facing surfaces within 24 hours to maintain light levels
- Check thermal performance – contact points should not show excessive condensation
March:
- Begin gradual removal of temporary night insulation as outside temperatures rise above 5°C consistently
- Assess material condition and plan replacements for next season
Common Issues & Solutions
| Problem | Symptoms | Solutions | Expected Improvement |
| Excessive condensation | Water droplets, foggy glass | Increase ventilation by 20-30% | Humidity drops to 60-70% |
| Uneven temperatures | >5°C variation across greenhouse | Add circulation fan or adjust insulation | Temperature variance <3°C |
| Reduced light levels | Plants stretching, pale growth | Clean or replace degraded materials | Restore 85%+ light transmission |
| High heating costs | Bills not reducing as expected | Check for air leaks, improve sealing | Achieve 40-50% cost reduction |
FAQs
What temperature should I maintain for different plants?
u003cstrongu003eFrost protection:u003c/strongu003e Minimum 2°C (prevents cellular damage from ice formation)u003cbru003eu003cstrongu003eHardy perennials:u003c/strongu003e 3-5°C (dormant overwintering)u003cbru003eu003cstrongu003eTender plants:u003c/strongu003e 7-10°C (pelargoniums, fuchsias, citrus)u003cbru003eu003cstrongu003eActive growing:u003c/strongu003e 12-15°C (winter salads, herbs)u003cbru003eu003cstrongu003ePropagation:u003c/strongu003e 18-20°C (seed germination, cutting development)
How do I know if my insulation is working effectively?
Monitor these key indicators:u003cbru003eu003cstrongu003eOvernight temperature drop:u003c/strongu003e Should be u0026lt;5°C with effective insulationu003cbru003eu003cstrongu003eMorning warm-up time:u003c/strongu003e Well-insulated greenhouses reach target temperature 2-3 hours fasteru003cbru003eu003cstrongu003eEnergy usage:u003c/strongu003e Heating costs should reduce by 40-60%u003cbru003eu003cstrongu003ePlant health:u003c/strongu003e Reduced cold damage, consistent growth rates
What’s the most cost-effective insulation method?
For most gardeners, 20mm horticultural bubble wrap offers the best value:u003cbru003eu003cstrongu003eInitial cost:u003c/strongu003e £3-5 per square meteru003cbru003eu003cstrongu003eInstallation:u003c/strongu003e DIY-friendly, 2-4 hours for average greenhouseu003cbru003eu003cstrongu003ePerformance:u003c/strongu003e 35-45% heat loss reductionu003cbru003eu003cstrongu003ePayback period:u003c/strongu003e 8-14 monthsu003cbru003eu003cstrongu003eLifespan:u003c/strongu003e 3-5 years with proper maintenanceu003cbru003eTo optimize your setup further, browse our range of u003ca href=u0022https://www.firsttunnels.co.uk/spare-accessories/heaters/u0022u003egreenhouse heatersu003c/au003e designed to work safely and efficiently with insulated structures.u003cbru003e
Should I insulate the greenhouse floor?
Yes, floor insulation provides 15-20% additional heat retention:u003cbru003eu003cstrongu003eConcrete floors:u003c/strongu003e Install 50mm rigid foam around the perimeteru003cbru003eu003cstrongu003eSoil floors:u003c/strongu003e Lay rigid foam 30cm below ground level around edgesu003cbru003eu003cstrongu003eRaised beds:u003c/strongu003e Insulate sides with 25mm foam boardu003cbru003eu003cstrongu003eBenefits:u003c/strongu003e Protects root systems, reduces ground heat loss
When should I remove seasonal insulation?
u003cstrongu003eDaily night covers:u003c/strongu003e Remove when outside temperature exceeds 5°Cu003cbru003eu003cstrongu003eBubble wrap from south walls:u003c/strongu003e Mid-March when day length increases significantlyu003cbru003eu003cstrongu003eComplete removal:u003c/strongu003e When nighttime temperatures consistently exceed 8°C (typically late March/early April)u003cbru003eu003cstrongu003eGradual approach:u003c/strongu003e Remove 25% of insulation every 2 weeks to acclimatize plantsu003cbru003eFor more ideas on optimizing your greenhouse interior throughout the seasons, check out our u003ca href=u0022https://www.firsttunnels.co.uk/blog/interior-polytunnel-ideas/u0022u003einterior polytunnel ideasu003c/au003e to make the most of your space year-round.
Sources
Crossley, H., (2023) How to heat a greenhouse – 6 options, but not all will be worth it. Homes and Gardens [online] available at: https://www.homesandgardens.com/gardens/how-to-heat-a-greenhouse [accessed 09/10/2024]