


The most important thing to do before you start to build your Polytunnel is to look at how other people have built them. Give yourself a good half hour to go online and check out the free information and tips on this blog. You’ll find lots of step by step instructions on what to do and when.
With your research complete, take time to familiarise yourself with the instructions and particularly the parts and tools required. If you lose or damage your instructions don’t worry, construction guides are available for free.
Putting up a polytunnel is like the biggest piece of flat-pack furniture you could imagine (a bit like putting up a Meccano structure) and although it might look and sound daunting, building a polytunnel should actually be a straightforward, rewarding experience.
How Long Does It Take To Build a Polytunnel?
Here are a few hints and tips to address a very common question… ‘How long does it take to build a polytunnel?’
We appreciate that putting anything together you’re not used to can initially feel a tad overwhelming. We are conscious that there are many factors and variables that influence the work involved when constructing a Polytunnel. You have to consider: –
- Digging conditions
- Weather
- The way it’s secured to the ground
- DIY capabilities
- Size of Polytunnel
These all contribute to the length of time it can take so it would be wrong for us to advise a specific timescale. A 6ft x 8ft base rail version Polytunnel would require 6 holes digging whereas a 30ft x 90ft long would require 32 holes – phew!
Rome wasn’t built in a day and neither were most polytunnels. It is important not to underestimate the time involved. This isn’t something you can knock up in a couple of hours after work, or on a lazy Sunday afternoon. That said, you don’t have to be a rocket scientist to work out how it goes together and even those with two left thumbs should be able to manage the basic DIY involved. As long as the weather is fine and the company pleasant, erecting a polytunnel can be a delightful job, and you will have the satisfaction of having built something with your own two hands.
Preparation is Key
The more preparation you do, the more likely the project will proceed smoothly without surprises. Ask to see a copy of the instruction manual before taking the plunge so you can check how straightforward they are to follow and learn exactly what’s involved. The construction guides can either be downloaded or posted out to you.
It is a good idea to take the time to prepare your site before building your polytunnel. You should remove all vegetation and cut back any surrounding trees or shrubs that may be in the way. If your polytunnel is going to be in a rather exposed location, you could also consider creating a natural windbreak ahead of time. Another thing that you can do before your polytunnel arrives is get a sense of the soil on the site by doing an exploratory dig, to see whether there are many rocks and whether the digging here will be hard work. If the digging does seem like it will be very hard going, you may need to consider hiring a mini-digger or calling for reinforcements.
Getting all tools and the right tools is a must. There’s nothing worse than getting stuck in and then realising your battery operated drill needs charging or forgetting your ladders are out on loan. Prepare this a few days in advance and get all your tools and bits & bobs together before you start.
Don’t forget the biscuits!
Check Your Kit
When the kit arrives, check that all components are there, and read the instructions carefully….again! How many times are we told to read the instructions before we start to use something but skip bits because we’re in a hurry? You’ll find it extremely beneficial to familiarise yourself with the construction process and component/part names. Watch our handy step by step construction videos as this will help save you time when the “big day” arrives. Call it homework (like being back at school)

Take some time to make sure all your own gardening tools are up to scratch too
With the UK weather, it can be difficult to know what is coming next. But if at all possible you should choose to erect your polytunnel on a calm, fine day. Rain can make the job a little miserable but a little drizzle never hurt anyone. Wind is far more problematic for polytunnel construction. Don’t even try to put the cover on if there is even a hint of wind. Wait for calmer conditions or you risk losing your cover before you even get started.
Ask for Advice!
Don’t forget you are literally putting together a small building (quite often the size of a swimming pool) A substantial piece of kit that is going to last many, many years and pay for itself in fresh fruit and veggies time and time again. Now that’s nothing to be sniffed at.
We do have a construction helpline readily available 7 days a week should any difficulties arise or you simply have a question. No matter how small you think the question is, just call. Our construction team is more than happy to offer help, advice and time-saving tips to all of our customers.
Constructing a Polytunnel
So, you’ve chosen a suitable site for your polytunnel and made sure that the ground is cleared of vegetation and obstructions. The big day has finally arrived! It is time to begin constructing your polytunnel. Constructing a polytunnel is not too difficult, but it pays to be prepared and take your time.
Preparing the Site
The first thing to do once you have checked everything over and read the instructions is to accurately mark out the polytunnel site. Marking out the site will allow you to make sure that you get the structure square. Take your time and make sure you get it right the first time.
Erecting the Frame
Once the base is marked out and the ground tubes are securely in the ground or attached to the base surface, the next stage is to assemble and erect the hoops of your polytunnel structure. Take your time and you will find that you can follow the instructions and put the structure together without too much hassle.
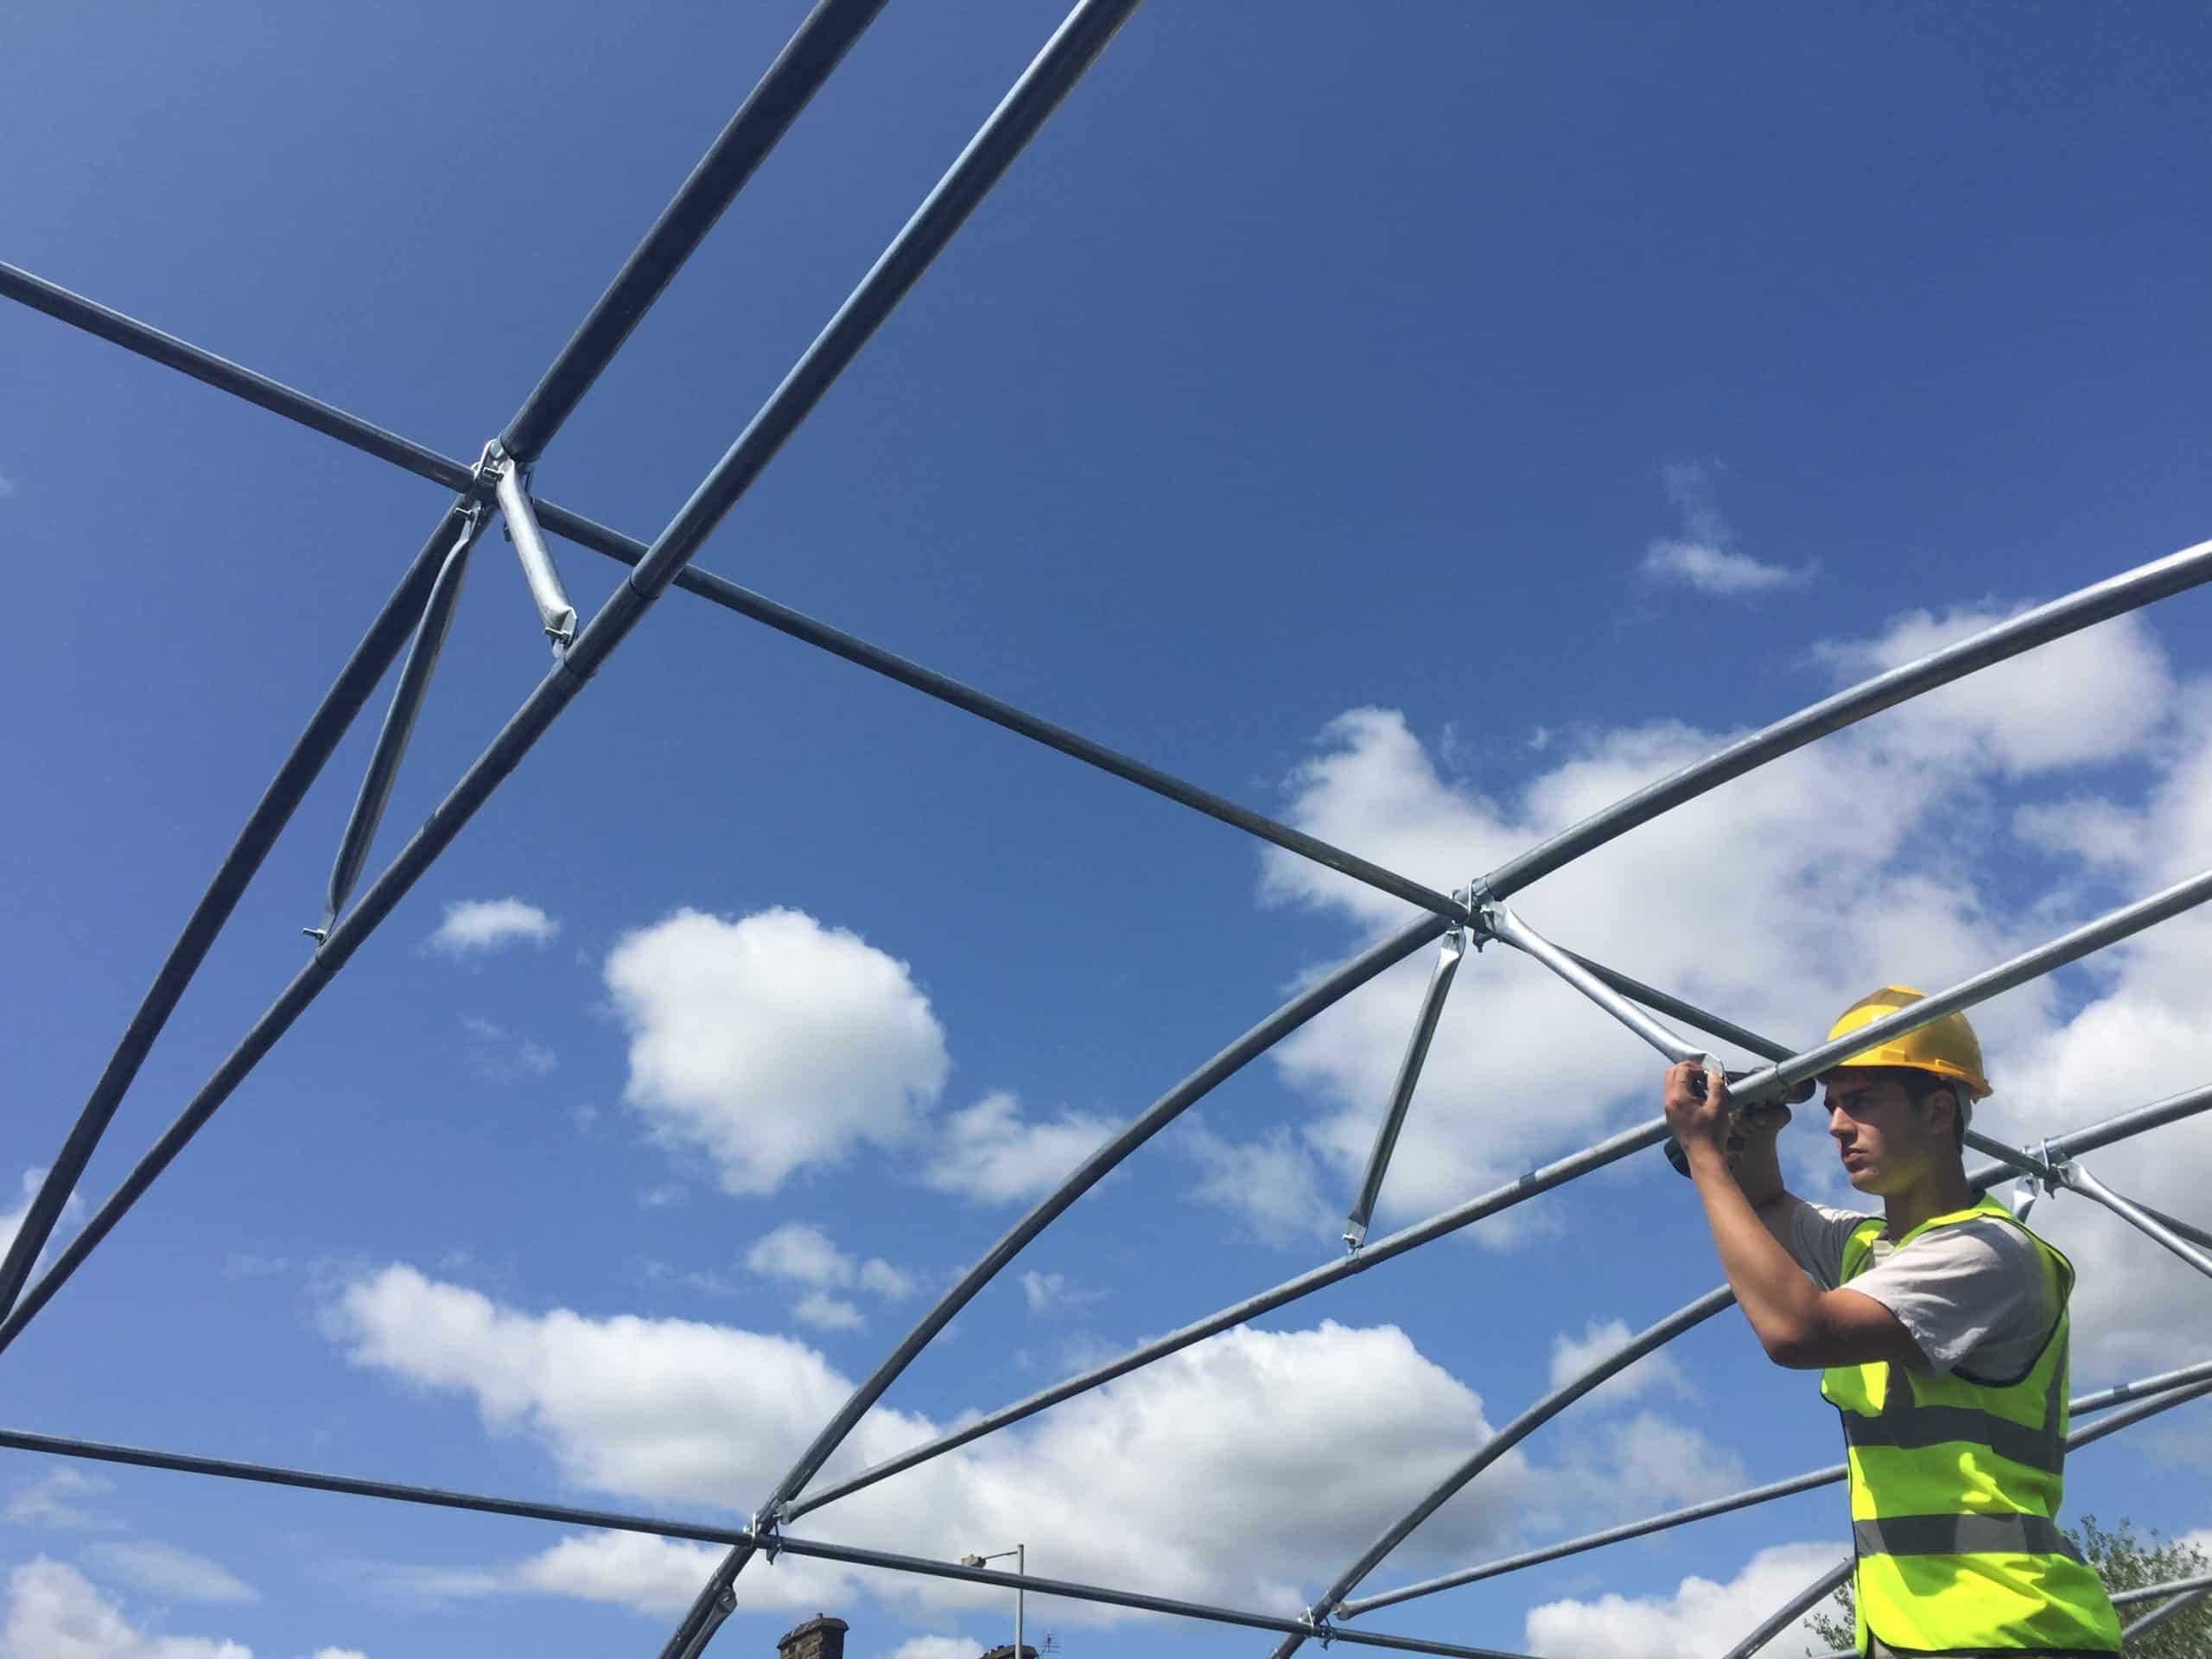
- First, assemble each of the hoops according to the manufacturer’s instructions, using the supplied fittings. Pay careful attention to which fittings need to be on each hoop, and which way round these should go. Also, note which side of the ridge pole each fitting should end up on.
- Put the hoops onto the ground tubes, making sure all sections are fully engaged.
- Assemble the ridge pole that runs down the centre at the top of the hoops and connect all the hoops together. At this point, the structure will become much more rigid.
- Add any diagonal bracing that came with your polytunnel structure, along with any additional bracing you have ordered to add extra rigidity to the structure.
- Add any crop bars across the top sections of your hoops.
Covering the Polytunnel
Make sure your polytunnel cover is big enough by using our polytunnel cover calculator
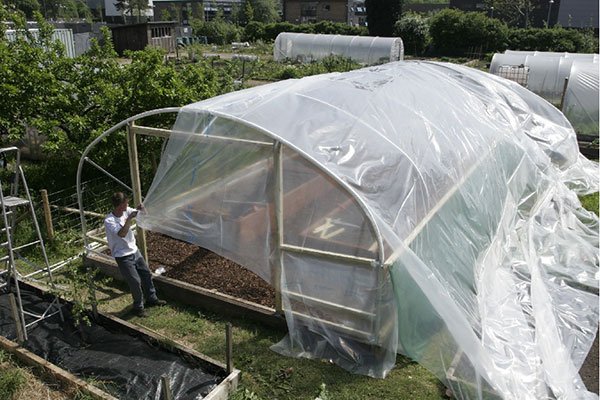
The more helpers you have on hand when constructing a polytunnel, the easier it will be to put the cover on your polytunnel structure. It is also best to wait for a calm, sunny day to make the job easier.
- Pull the polythene cover gently and carefully across the frame, making sure that the excess is distributed as evenly as possible around each side.
- If trenching the cover, making sure to pierce it in the bottom of the trench to prevent waterlogging around the polytunnel, otherwise, affix the cover to the base rail. Try to make sure you keep the cover as smooth and taut as possible over the frame.
- On the door ends, cut your cover for the door opening and pleat the edges to hold it in neatly and tightly around the ends of the structure, as per instructions for the particular polytunnel and doors you have chosen. Make sure the pleats face downwards so they do not collect rainwater.
- Finish off edges and trim as required and generally tidy up.
- Tension the cover by raising the hoops (on a trenched tunnel) or by making adjustments to the base rail, to make sure the plastic is fully stretched and taut.
Ensure you end up with “YOUR” dream Polytunnel take your time and enjoy!
If you have any hints and tips you feel would be worth including just email [email protected] or give us a call on 01282 601253 – it’s great to get field-testing info! You can also find more advice on the construction centre section of our blog.






