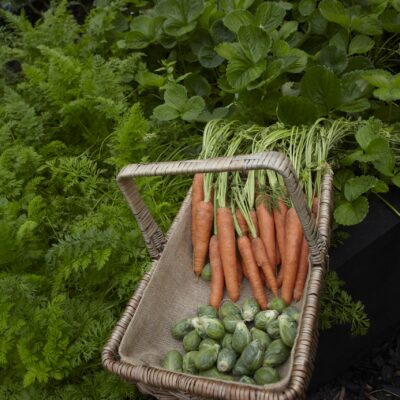
Dig into a fun activity with your kids by learning how to make a wormery in this informative guide.
Fancy engaging your children in a fun garden activity and get a little messy? In this article, we’ll explore the simple steps on how to build your own wormery, as well as the ideal conditions for your worms, and how this setup can transform your kitchen waste into nutrient-rich compost.
How Does A Wormery Work?
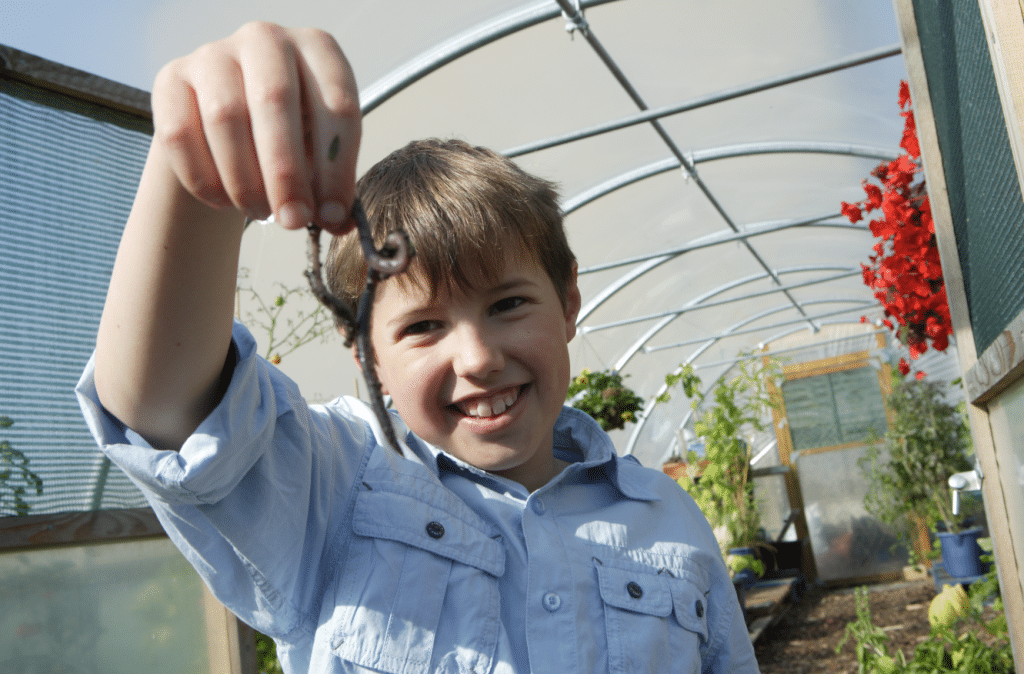
A wormery allows you to convert kitchen waste into compost and liquid feed for your plants. A wormery can be operated through a multi-compartment system where the top layer houses the worms and your kitchen scraps, and the bottom layer collects nutrient-rich liquid. This sustainable method is great for converting recycled waste in the garden into compost, or worm castings.
Benefits of Using Worms In The Garden
Worm castings are a gardener’s gold, offering a rich, natural fertiliser that aids soil aeration and nutrient content. As worms consume soil and organic matter, they excrete castings, which contain higher nutrient levels than regular garden soil. These castings improve soil structure, allowing plant roots to grow more freely and access the moisture and nutrients they need.
Gathering Your Materials
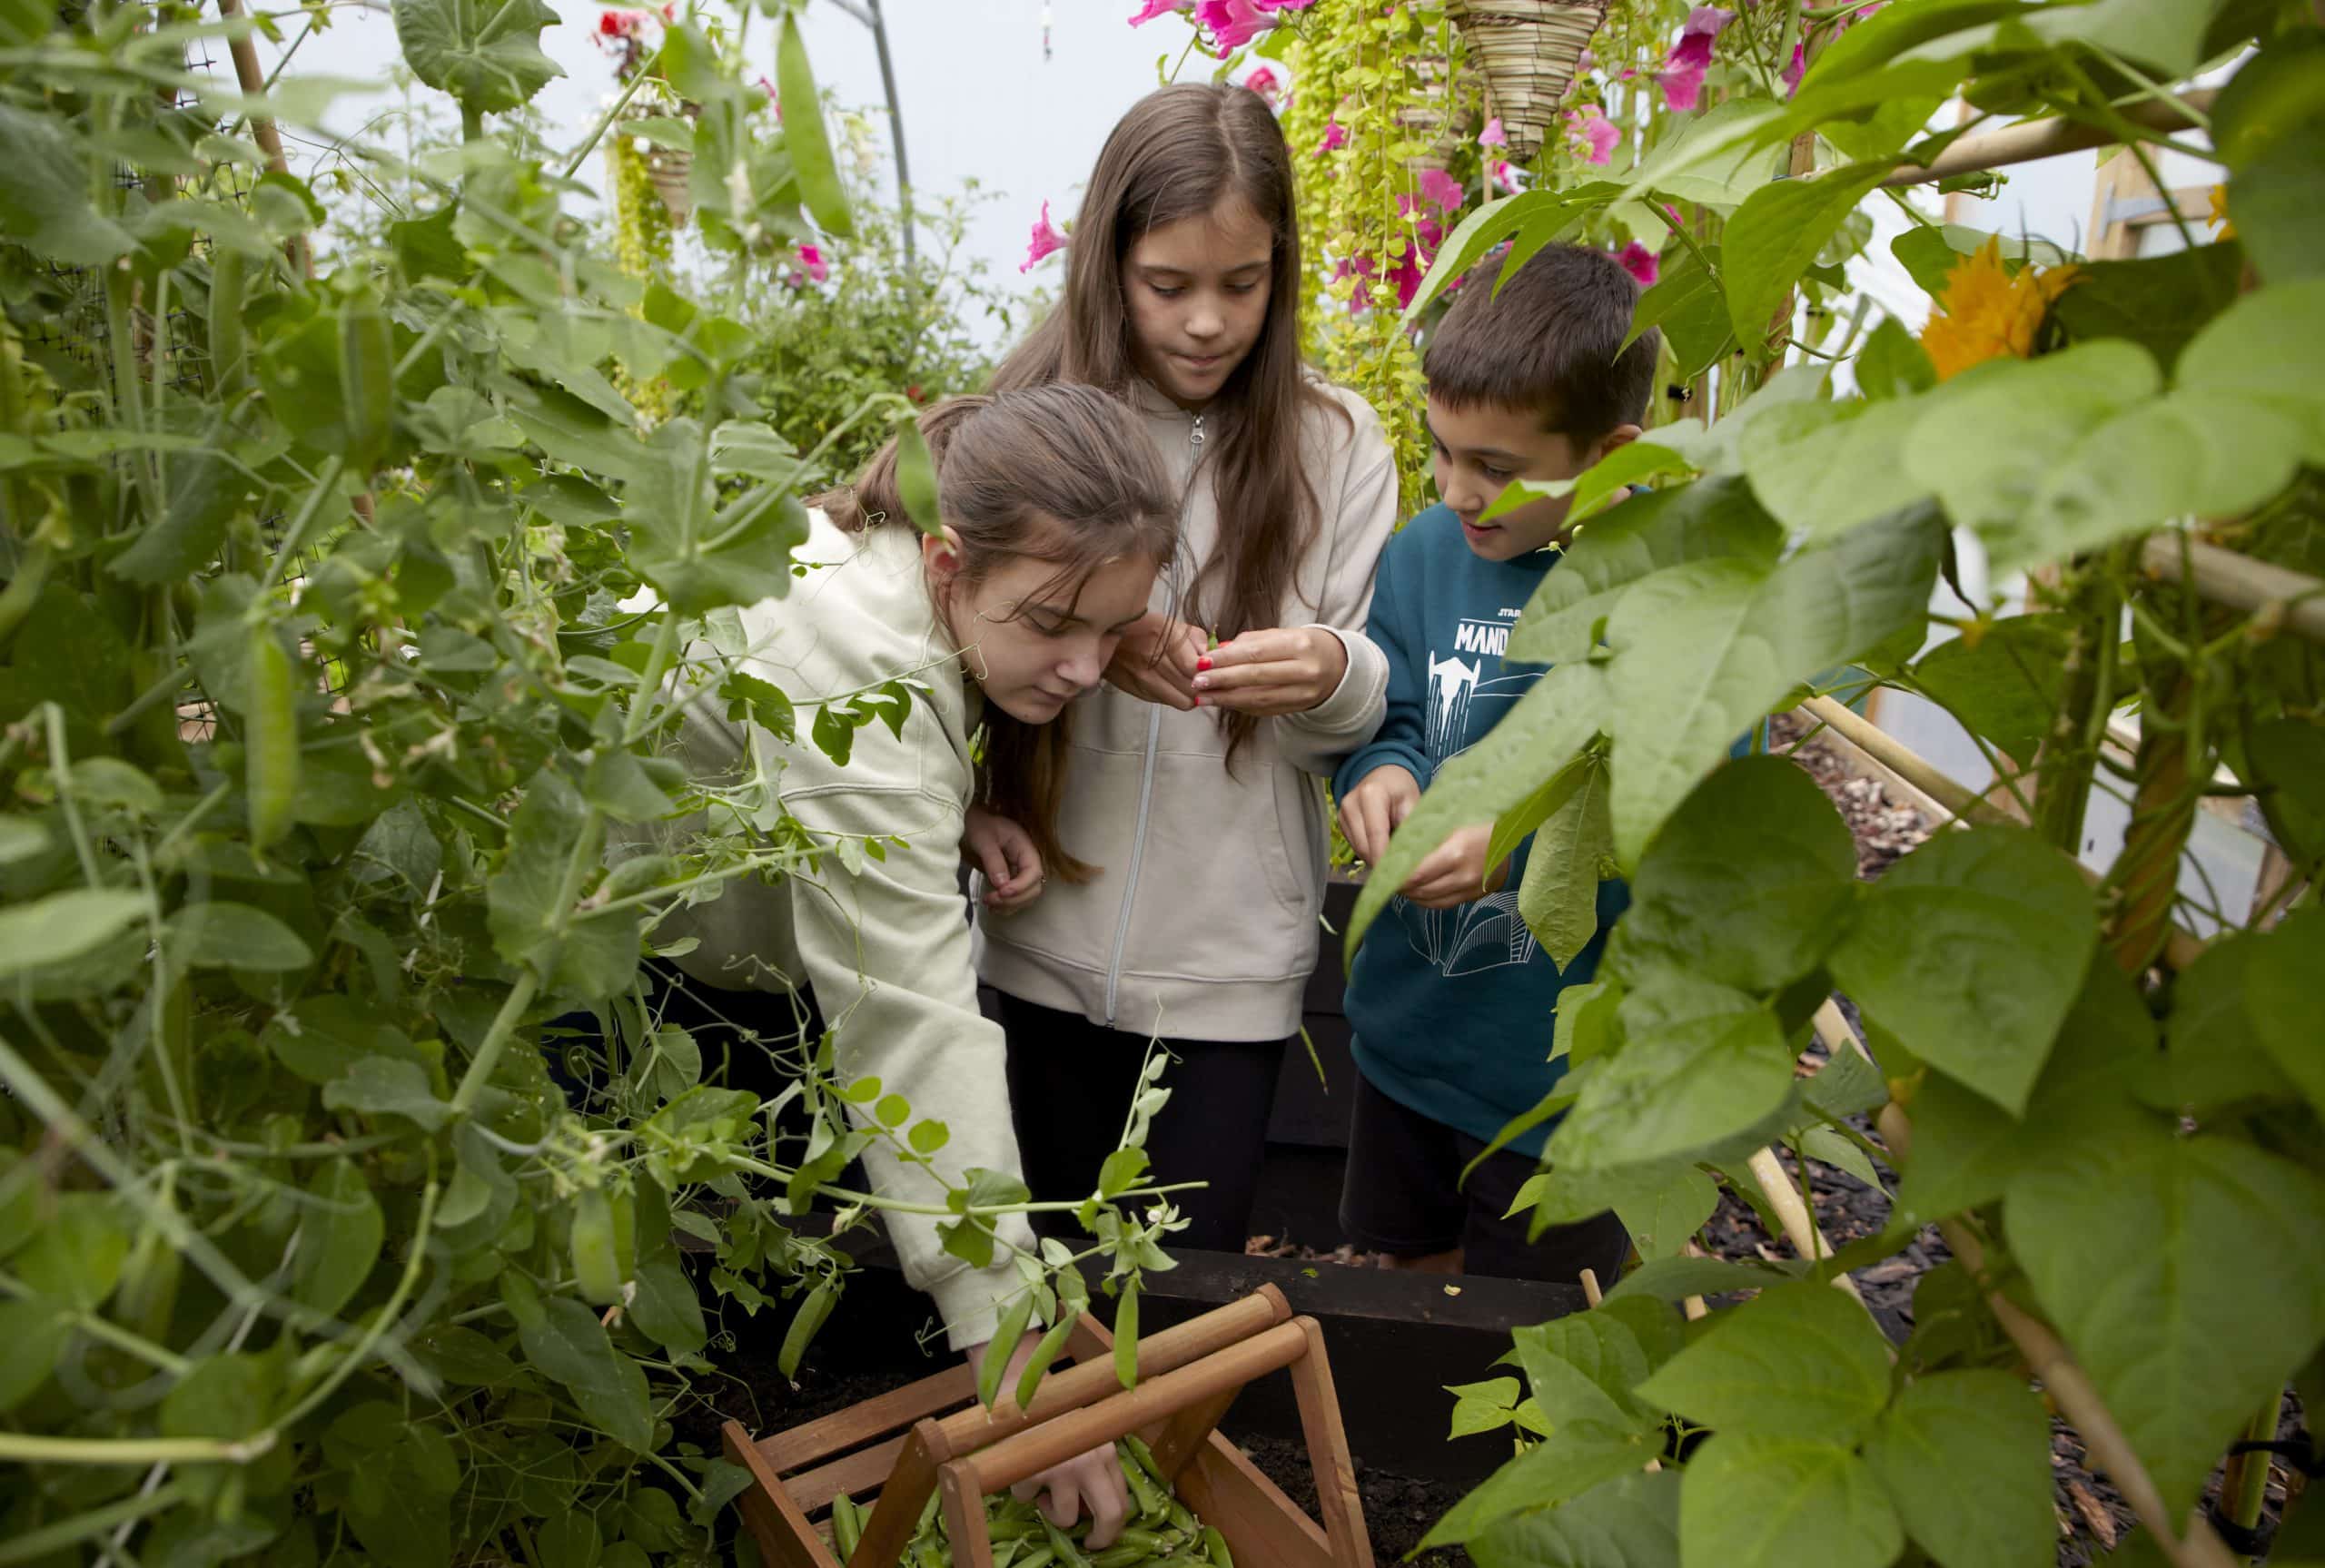
To start your own wormery, you’ll need:
- A large plastic box with a lid (approximately 40 x 50 x 20 cm)
- A drill for making air holes
- Two bricks or blocks to elevate the box
- Newspaper or cardboard for bedding
- Suitable worms and peat-free compost
| Jan | Feb | Mar | Apr | May | Jun | Jul | Aug | Sep | Oct | Nov | Dec | |
| To do | ✅ | ✅ | ✅ | ✅ | ✅ | ✅ | ✅ | ✅ | ✅ | ✅ | ✅ | ✅ |
Step-by-Step Guide to Building a DIY Wormery
Here’s how to make a cheap wormery at home, using readily available materials and simple tools.
1. Choosing Your Container
Start by finding a large plastic box with a lid. UV-treated boxes are ideal as they withstand the elements better, but any sturdy container will do. The size of the box should be big enough to handle the amount of organic waste you produce—generally, a box with a surface area larger than 14 inches in diameter will be best suited for most households.
2. Preparing the Box

Drill holes in the base of the box to ensure suitable amount of airflow, which is crucial for the worms’ survival.
Use a 1/2 inch drill bit for this purpose.
The holes should be large enough to prevent blockage but small enough to keep the bedding in place.
3. Elevating the Wormery
Raise the box by placing it on bricks or blocks of wood.
This elevation allows air to circulate through the holes drilled in the base, promoting a healthy environment for the worms by preventing the buildup of moisture.
4. Laying the Bedding
Line the bottom of your box with a layer of newspaper or cardboard.
This layer keeps the worms from escaping and provides a non-toxic environment for them to live. If the internal conditions become too acidic from food like onions or citrus, the worms might try to escape, so it’s important to monitor the pH.
5. Ventilation
Drill additional small holes in the lid and at the top sides of the box to ensure good air circulation while protecting your wormery from rain.
Doing this will help maintain the necessary dark and moist environment that worms thrive in.
6. Adding Bedding and Worms
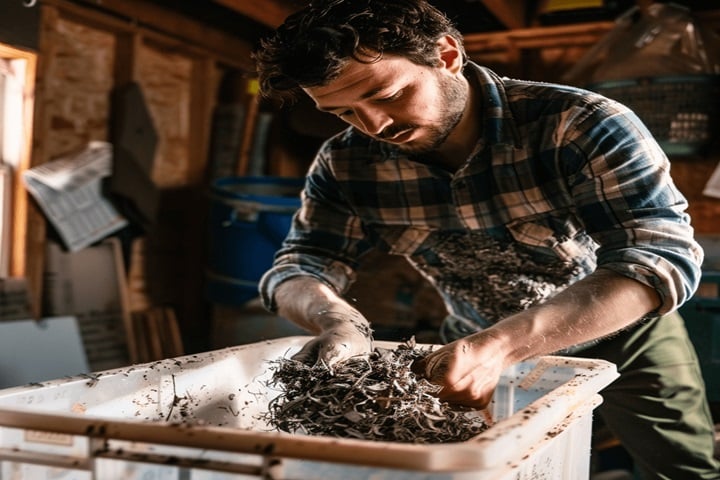
Fill the bottom of the box with about an inch of worm bedding—coconut coir, shredded newspaper, or peat-free compost all work well.
The bedding should be moist. Introduce your worms to the bedding; red wigglers (Eisenia fetida) are most commonly used in wormeries and will be helpful for composting. If possible, source these worms from a friend’s wormery or a reputable online supplier.
7. Feeding Your Worms

Begin by adding small amounts of organic waste such as vegetable peelings, coffee grounds, and tea bags.
Avoid adding meat, dairy, oily foods, or too much citrus. Remember, the worms can eat up to half their body weight in waste per day, so adjust the amount of food according to the number of worms and their processing speed.
8. Covering and Insulating
Cover the surface of the compost with old cardboard or a towel to block light and retain moisture. If the wormery lid is lost or damaged, improvise with any waterproof material that can be modified to allow air in while keeping excess water out.
9. Location and Maintenance
Place your wormery in a shaded, sheltered area to protect it from direct sunlight and harsh weather. Feed your worms little and often, and avoid overfeeding, which can lead to odour problems.
Selecting and Caring for Your Worms in a Wormery
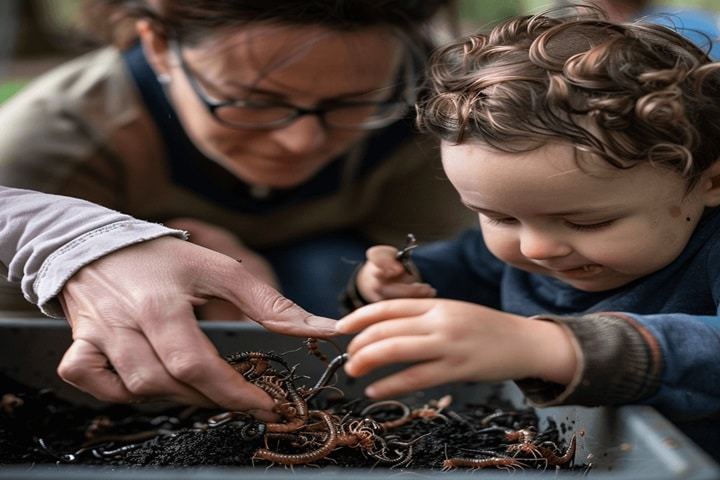
Now that your wormery is set up, it is time to consider which worms are best for your wormery, alongside some useful worm-keeping tips.
Choosing the Right Worms
For an effective wormery, not just any earthworm will do. Composting worms, which thrive on the surface layers of soil and specialise in breaking down organic matter, are your best choice. The most commonly used species in wormeries are Eisenia fetida, also known as red wigglers or tiger worms, and Dendrobaena veneta, known as European nightcrawlers. These worms are readily available from online gardening suppliers or shops selling fishing gear. Combining both species can improve the flexibility and efficiency of your wormery, as they prefer slightly different living conditions.
Find out which worms are the best for composting and how to source them now.
Maintaining a Healthy Worm Population
To keep your wormery thriving, introduce composting worms to a nourishing environment, starting with the right bedding and regular, appropriate feeding. Be cautious with feeding your worms citrus and onions, which could acidify the environment too much.
Adding shredded newspaper or cardboard not only provides carbon-rich material they need but also helps manage moisture levels. It’s crucial to maintain the right balance to avoid odours and promote effective composting.
Reproduction and Worm Care
Composting worms are prolific breeders. They are hermaphrodites, meaning each worm has both male and female reproductive organs, but they still require another worm to reproduce. They lay cocoons every few days, with each cocoon potentially hatching several young worms that will mature in just a few weeks.
Managing the wormery involves ensuring the worms have enough food but not too much at once, and regularly harvesting the compost once the upper tray is full.
Swap the full tray with an empty one underneath, allowing the worms to migrate upwards and continue their work.
Concerned about pests like rats in your compost bin? Learn ways to keep your composting efforts safe with our guide about rats in compost bins.
Worm Compost and Liquid
The by-product of your wormery, worm compost or vermicompost, is an excellent soil amendment that can significantly aid the nutrient content of your garden soil or potting mixes.
Additionally, the liquid runoff, often called worm tea, is a potent fertiliser. Dilute it with water before applying to plants for a nutritious boost.
Balancing Food
Your composting worms are capable of consuming up to their own body weight in waste each day. However, it’s important to monitor the amount of waste you add. Overfeeding can overwhelm your worms and lead to unprocessed waste, which can cause odours. Conversely, these resilient creatures can survive without fresh food for weeks, making it easy to manage during vacations or busy periods.
Managing Waste Types
To maintain a healthy balance, vary the types of kitchen waste you deposit. Remember, too much wet waste can lead to a smelly wormery, while too much dry waste can slow down the composting process. If the bedding feels too moist, add dry, shredded newspaper or cardboard to absorb excess moisture. This will help create a better environment for making a wormery efficient and odour-free.
Weather Considerations
Adjust the worm feed during different seasons. In colder weather, reduce the amount of waste as the worms’ metabolism slows down. During wet weather, ensure the wormery’s lid is secure to prevent waterlogging, which could affect the wormery’s health.
Make Your Own Wormery With Our Advice
Building and maintaining a wormery is not just a fulfilling DIY project but also an excellent step towards sustainable living. Whether it’s a wormery for kids, a homemade wormery, or a specialised composting setup, there is a lot of run that can be had from making your own wormery. By following these tips, you can make your own wormery a successful part of your green lifestyle, enjoying the rewards of nutrient-rich soil and the satisfaction of reducing your ecological footprint.
FAQs
Do worms multiply in a wormery?
Yes, worms do multiply in a wormery. If the conditions are right, including adequate food, moisture, and temperature, worms will reproduce, helping to increase the efficiency of composting.
Does a wormery attract rats?
A well-maintained wormery typically does not attract rats. To prevent attracting rodents, ensure the wormery is securely covered and avoid adding cooked foods or meat scraps, which are more likely to attract pests.
Sources
Baker, N., (2020) Which worm is best for composting? Worms Direct. [online] Available at https://www.wormsdirectuk.co.uk/blog/which-worm-is-best-for-composting/ [accessed 06/06/2024]