There are plenty of cool water features you might include in a polytunnel or elsewhere in your garden plans, including DIY water fountains. Making sustainable and eco-friendly choices means that your new fountain won’t cost the Earth.
In this guide, we will talk you through the process of how to make a water fountain for your garden, either as a stand-alone feature or as part of a garden pond. Along the way we’ll explore some great ideas to help you individualise your homemade water fountain and make it something unique to you.
KEY TAKEAWAYS
- DIY water fountains are a great way to add a unique and sustainable water feature to your garden, enhancing its beauty while promoting a calming atmosphere.
- Creating a water fountain with eco-friendly materials can help reduce your carbon footprint and water usage, making it a perfect project for sustainability-minded gardeners.
- Whether standalone or part of a garden pond, a water fountain can be a simple yet impactful addition to any garden, and you can personalise it to suit your space and aesthetic.
- For polytunnel gardeners, incorporating water features like fountains can improve humidity levels, benefiting plants while adding an element of tranquility to your growing space.
- The process of building a DIY water fountain involves planning, sourcing materials, and using the right tools, with a focus on environmentally friendly practices.
Why Create a Water Fountain for Your Garden?
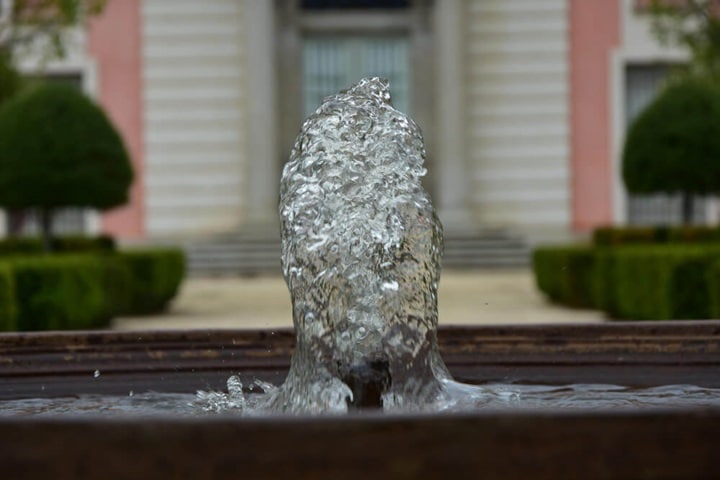
Adding a water fountain to your garden offers numerous advantages, especially when approached with sustainability in mind.
A well-constructed fountain can dramatically improve the aesthetic appeal of your garden. The sound of flowing water, whether gentle or a more energetic cascade, creates an atmosphere of calm, transforming your garden into a tranquil retreat.
By designing a water fountain that can also double as a small pond or birdbath you can boost biodiversity and attract a wide range of creatures to your space.
For gardeners in polythene tunnels or other enclosed spaces, water fountains can help to regulate temperature and humidity. The evaporation from a fountain can help maintain a more consistent level of moisture in the air, benefiting your plants and creating a more comfortable growing environment.
By making your own fountain, you can design a unique feature that fits your garden’s style and your budget. A DIY project allows you to get creative and customise the fountain according to your tastes and requirements.
Tools Required
- Shovel or spade (for digging the foundation if creating a pond or basin)
- Power drill with drill bits (for making holes in containers, pipes, or the fountain’s base)
- Screwdriver (if using screws to attach parts)
- Level (to ensure the fountain is stable and correctly aligned)
- Measuring tape (for accurate measurements)
Materials Required
The materials you use will depend on the design and style of the fountain you want to build. Common materials include:
- Recycled containers: You can use old birdbaths, basins, or even large plastic containers as the foundation for your water fountain.
- Rocks and pebbles: Stones can be used to decorate the base of the fountain or to create a cascading effect. River rocks, slate, or even decorative gravel are great choices.
- Concrete or stone: For a more permanent and rustic design, you might choose to build the fountain from reclaimed concrete blocks or natural stone.
- Moss, water plants, or aquatic plants: For garden fountains, you might include plants like water lilies, sedges, or water irises to enhance the fountain’s natural appeal.
- Solar-powered pump: A sustainable option for powering your fountain without relying on the electricity grid.
- Plastic or metal tubing: For guiding the water from the pump to the fountainhead.
Project Step-by-Step on How to Make A Water Fountain
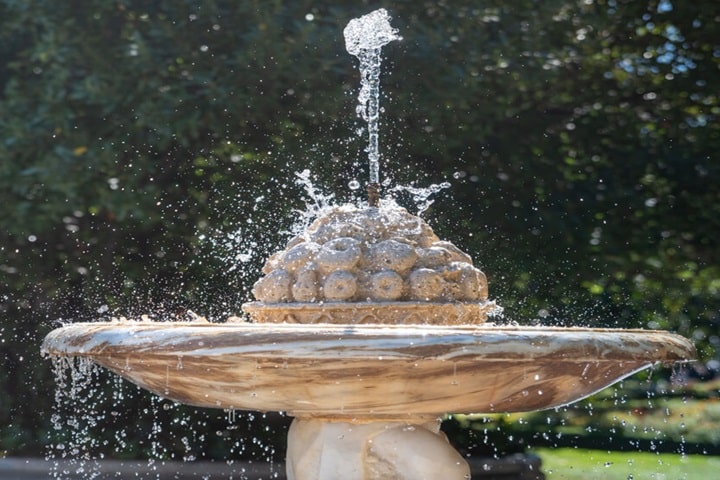
Now that you have the tools and materials ready, let’s go over the steps to create your DIY water fountain. While the process can vary depending on your design, here’s a basic outline for building a simple, sustainable water fountain.
1. Choose Your Fountain Design
Before gathering materials, take time to decide on the fountain’s design. The beauty of a DIY project is that you can customise it as much as you like, but it’s important to choose a design that suits the space you have available. If you’re building a standalone water fountain, consider whether you want a traditional tiered design or a simpler, modern structure. If you plan to integrate the fountain into a garden pond, you can explore a cascading or waterfall effect, which requires more space and planning.
You could also build a more intricate water feature by combining elements of art and functionality, such as a stone sculpture with a built-in water channel or a stacked rock formation that guides the water from one level to the next.
For a polytunnel garden, consider how much space the fountain will occupy and whether it will interact with your plant arrangements. A fountain with a contained basin can act as a decorative feature while also promoting humidity levels, which is crucial in the often dry atmosphere of a polytunnel.
2. Select a Suitable Location
Choosing the right location for your fountain is a crucial step, as it impacts both its aesthetic value and functional effectiveness. For a garden fountain, a central location or a corner spot with visibility from your main seating area will help maximise its impact.
Make sure the area is clear of large plant roots or obstructions that could interfere with the setup. If you are building a pond fountain, it’s best to place it where it won’t get disturbed by foot traffic or be overwhelmed by nearby trees shedding leaves.
If you’re installing a fountain in a polytunnel, consider the following additional factors:
- Proximity to plants: You want your fountain to benefit your plants without being too close, as too much humidity can lead to fungal diseases.
- Light exposure: Make sure your fountain gets enough light to activate the pump, especially if you’re using a solar-powered pump.
- Space for movement: If you plan to work around the fountain, ensure there’s space to access the pump and clean the feature as necessary.
You should also consider the type of soil or surface your fountain will be placed on. If it’s on a hard surface like concrete or paving, make sure there’s a way for the water to drain properly. Raised gardens or beds are ideal locations, as long as the fountain doesn’t obstruct plant growth.
3. Prepare the Foundation
Once you’ve selected the location, it’s time to prepare the foundation. This is particularly important for standalone fountains and those integrated into a garden pond, as a solid base is essential for stability and ensuring the water doesn’t leak.
For standalone fountains:
- If using a plastic or concrete container as the base, check that it’s level on the ground. Use a spirit level to ensure that the base sits flat to prevent water from spilling over the sides.
- If you’re using a stone structure, you may need to dig a shallow hole to accommodate the base or container securely. Consider lining the base with a layer of sand or gravel to provide a firm foundation.
For garden pond fountains:
- Dig the pond as deep as required, typically around 6-12 inches depending on the size of the fountain and the plants you plan to add.
- If using a pond liner, ensure that it covers the entire surface and edges, extending a few inches above the ground to prevent water from seeping out. Smooth out the liner and secure it with rocks along the edge. Alternatively, use bentonite clay or other clay products to seal the base of the pond and prevent water from escaping.
4. Install the Pump
Submersible pumps are ideal for fountains, as they are designed to sit beneath the water and pump it up through the tubing to the top of the fountain.
For smaller fountains, a pump with a lower flow rate (around 100–200 gallons per hour) will suffice. For larger fountains or those that require a cascade effect, a pump with a higher flow rate may be necessary (500–800 gallons per hour).
A solar-powered pump is a sustainable choice, especially for smaller fountains. They are efficient, eco-friendly, and work well in gardens where natural sunlight is available. Ensure the solar panel is positioned to receive enough sunlight to power the pump throughout the day.
Positioning the pump is critical for effective operation. Place it at the lowest point in the fountain basin to ensure that it is fully submerged.
Attach the tubing to the pump, ensuring it fits tightly and securely. You may need to trim the tubing to the desired length to guide the water from the pump to the fountain’s top.
5. Create the Water Feature
Now comes the fun part — designing the water feature itself. There are many ways to create water movement depending on the materials you have chosen.
Build a cascading effect by layering stones or rocks in a way that channels water from one rock to another. This method is particularly effective for creating a waterfall or stream effect. For a more rustic look, you can position large, flat stones at different angles to guide the water to different levels. This not only adds movement but also enhances the natural feel of the fountain.
If you’re using glass or ceramic, you can use drilled holes or channels to allow the water to flow smoothly from one section to another. Glass also gives the fountain a sleek, modern look.
For a more avant-garde design, use a mosaic of small, colourful tiles to decorate the sides of the fountain or even the water basin, adding a pop of colour and visual interest.
6. Seal the Fountain
To prevent leaks, you may sometimes need to apply silicone sealant around the edges of the container or any joints where water may escape. Ensure that the base of the fountain is properly sealed so the water stays contained.
7. Test the Fountain
Fill the fountain with water, turn on the pump, and watch the water flow. Adjust the pump and tubing as needed to achieve the desired water effect. If everything works as expected, you’re good to go!
8. Add Decorative Touches
This is the finishing touch that makes the fountain truly unique. Whether you want a simple, natural look or a more intricate design, you can customise your fountain to your liking.
Water lilies, duckweed, or submerged plants not only enhance the look of your fountain but also contribute to the ecological balance by absorbing excess nutrients.
Adding pebbles or decorative stones around the base of the fountain will help cover any visible tubing and give it a more polished look. Larger stones can also help secure the pump and keep it in place.
If you want to introduce a natural, earthy feel, moss or ferns around the base can create a lush, green look that complements the flowing water.
Water Fountains for Polytunnels
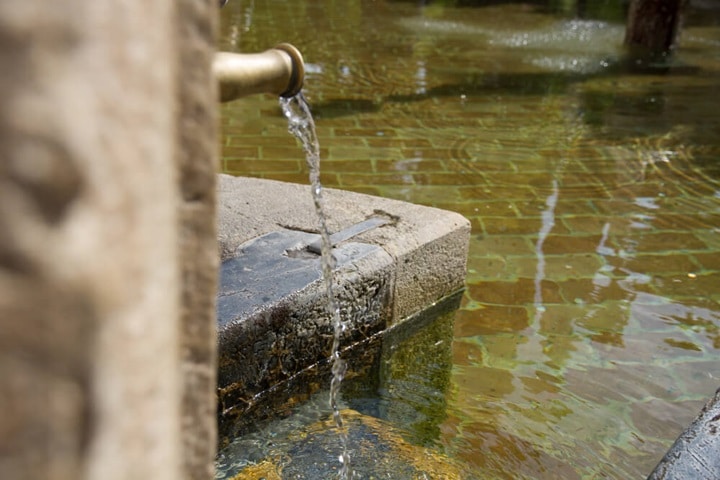
Water fountains in a polytunnel can serve more than just an aesthetic purpose. For gardeners working in polytunnels, adding a water feature can improve the humidity and temperature regulation within the structure.
The evaporation from the water can raise the humidity levels, helping moisture-loving plants like tomatoes, cucumbers, and herbs thrive in an otherwise dry environment. Just ensure that the fountain is placed where it won’t obstruct plant growth or interfere with water irrigation systems.
If you’re using a fountain in a polytunnel, it’s important to choose a pump that won’t create excess moisture or encourage fungal growth. Consider using a solar-powered pump or low-wattage pump to reduce energy consumption and maintain a balance in your polytunnel environment.
Learn more insightful watering tips for your garden and domestic polytunnels, including:
- Crack the code with waterlogged gardens
- What are water gardens? Find out now
FAQs
What type of pump should I use for my DIY water fountain?
The type of pump you use will depend on the size and design of your fountain. For smaller fountains, a low-flow submersible pump will suffice. For larger fountains or those with cascading water, opt for a higher-flow pump. If sustainability is important, consider using a solar-powered pump, which requires no electricity and is an eco-friendly option.
Do I need to seal my fountain container?
If you’re using a container that has seams or cracks, sealing the edges is sometimes essential to prevent water from leaking out. Silicone sealant works well for this purpose and is waterproof, ensuring the fountain holds water efficiently.
How do I keep the water clean in my fountain?
To maintain clean water, regularly clean the pump, check for algae buildup, and replace the water every couple of weeks. You can also introduce natural filtration by adding aquatic plants like water lilies or water hyacinths, which can help filter the water and keep it clear. Additionally, ensure that your fountain is placed away from leaves or debris that could influence the water’s clarity.
Sources
Outdoor Fountain Pros. (2023) Tips for Attracting Birds to Your Bird Bath Fountain. [online] Available at: https://www.outdoorfountainpros.com/blogs/news/tips-for-attracting-birds-to-your-bird-bath-fountain [accessed 14/11/2024]