When to Plant Maincrop Potatoes
Maincrop potatoes will, if you get it right, provide you with plenty of calories through the autumn and winter months. Potatoes are a staple crop and one that many can grow at home. They are relatively easy to grow, but there are certain things to remember when doing so.
What Are Maincrop Potatoes?
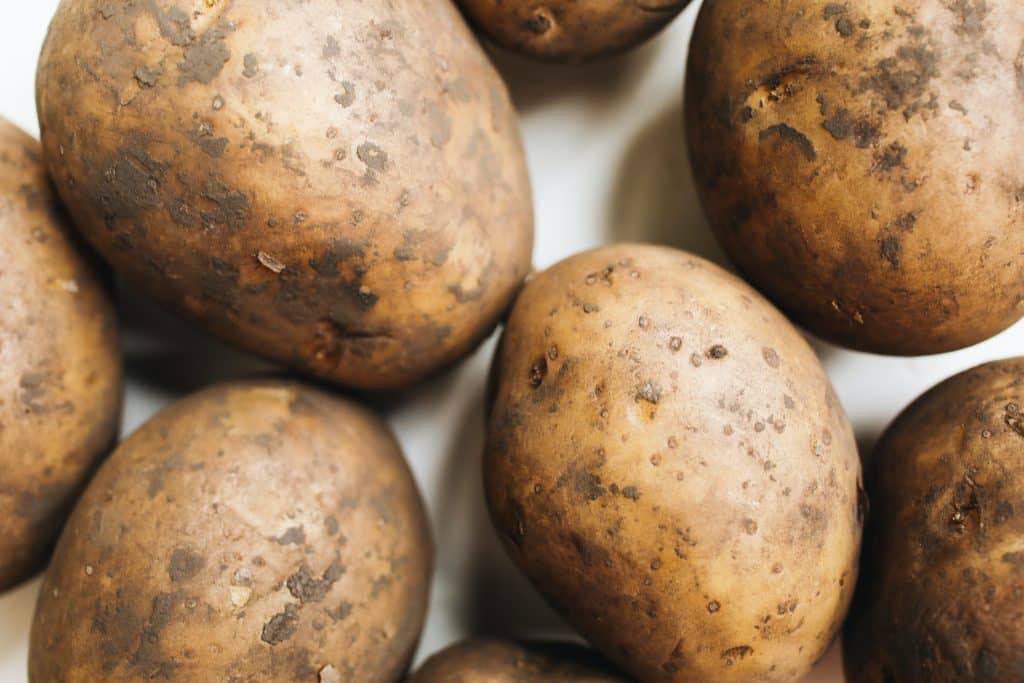
Maincrop potatoes are one of three main categories of potatoes that are grown in the UK. The other two types are first earlies and second earlies, named for the fact that they are harvested much earlier in the year.
Early potatoes are smaller – what we refer to as ‘new potatoes’. First earlies are harvested in June or July, second earlies in July or August. Maincrop potatoes are, as the name suggests, the main crop of the year. These larger potatoes, in a bigger harvest, are those that care typically harvested in late summer or early autumn, between August and October.
Maincrop potatoes are those that are typically lifted and stored for use over the autumn and winter months. Because they are often used for storage rather than eaten right away, the process involved in harvesting is a little different to that for the other types.
The Best Maincrop Potatoes To Plant
Maris Piper is the most widely grown maincrop potato in the UK, and one that I would recommend. It is a good all-rounder with white skin and white flesh, and the tubers not only taste great but also store well.
I have grown several other types but always come back to this tried and tested variety.
When To Plant Maincrop Potatoes
Maincrop potatoes are typically planted in mid to late April – a little later than the early types. (First earlies are typically planted from late March, second earlies in early to mid April.)
However, it is important to consider where you live when deciding when to sow. And you will also have to take into account the weather conditions in a given year.
Gardeners in northerly and colder regions will plant a little later. And in a cold year when spring is late, I might not plant out maincrop potatoes where I live (in Scotland) until late April or even early May.
It is unlikely, perhaps, that you will grow maincrop potatoes in a polytunnel. (Though I do sometimes grow some first earlies in mine for the earliest potatoes of the year.) But if growing undercover, you can sow earlier than you would do outdoors.
How To Plant Maincrop Potatoes
Before you plant your maincrop potatoes there are several things to think about. First of all, you may wish to chit your potatoes. You should also take the time to prepare a suitable growing area.
Chitting Maincrop Potatoes
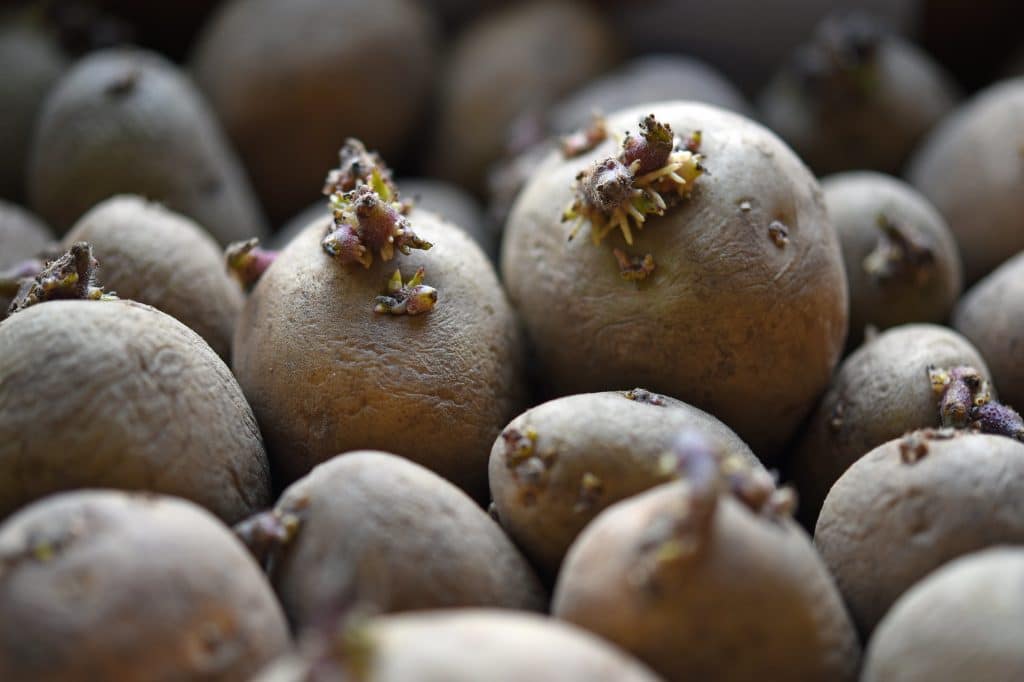
Chitting is simply the name given to a common practice in potato growing. It simply involves leaving potatoes in a cool, sunny spot indoors to sprout before planting. Allowing your potatoes to sprout green shoots before you plant them will give them a head start and may give you a slightly earlier harvest.
Chitting is usually done around six-eight weeks before you intend to plant your potatoes out. There is a lot of debate about whether or not chitting potatoes actually makes much difference. It certainly is not absolutely necessary.
Commercial growers certainly don’t bother. It is likely that you will still be able to grow a good crop of potatoes with or without chitting. But since it does not take a huge amount of time or effort, I certainly think it is worth doing for a home grower.
Just place the seed tubers in a bright but cool location on a windowsill, with the small divots (‘eyes’) upwards. Green shoots will emerge from these ‘eyes’. The tubers are typically planted when the shoots are around 2-3cm long.
Preparing Your Growing Area
Potatoes will do best in a sunny spot, where late frosts won’t linger. They need a fertile soil that is rich in organic matter
While early potatoes can easily be grown in containers as well as in the ground or raised beds, maincrop potatoes, since they are left for longer and to grow larger, are best grown in the ground or raised beds and are not really ideally suited to container cultivation.
There are two main ways to prepare a growing area for potatoes – a traditional trench method, and the ‘no dig’ potato growing method.
In the traditional method, the growing area is prepared (ideally from the previous autumn) by digging in plenty of homemade compost or well-rotted manure. A narrow trench around 12cm deep is made along rows around 65-75cm apart.
No dig gardening is all about making sure that the soil is as healthy as possible by disturbing it as little as possible, using mulches laid on the soil surface to add fertility and protect the soil. This is the method I use to grow my potatoes.
Planting Potatoes
Whether you choose a traditional approach or a no dig approach, spacing guidelines are the same. Maincrop potatoes are usually placed around 35-40cm apart, in rows 65-75cm apart.
(I like to create rows of potatoes on either side of some peas in companion planting. In a metre wide bed, I have two rows of potatoes, with a wide row of peas down the centre that are harvested before the potatoes grow to take up more of the space.)
In the traditional method, the potatoes are placed in the base of the trench. (You might also add some organic matter to the trench upon planting.
In the no-dig method, potatoes are laid on the surface of soil (ideally previously loosened somewhat with root crops). A mulch around 5-10cm thick is then laid over them. I layer materials like comfrey leaves and grass clippings, dried leaves, sometimes seaweed, and top this with homemade compost.
In either method, make sure the shoots face upwards. After placing the tubers, make sure that you give them a very good drink. Soaking the area thoroughly.
‘Earthing Up’ Maincrop Potatoes
As the plants emerge from the soil, it is important to cover them up again, to protect the young shoots from late frosts, and ensure that the potatoes are not exposed to light.
In the traditional method, once the stems are around 20cm tall, draw the soil up around them, creating a ridge around 15cm high. You will then repeat this process a couple more times so that you end up with a ridge that is around 20-30cm in height.
In a no dig garden, you will not create a mound of soil but instead create your raised mounds by piling mulch around the growing potato plants. And will continue add mulch as the potato plants grow over time.
Around the time of the second earthing up, I also feed my maincrop potatoes with a nitrogen rich organic liquid plant feed (I typically use a nettle tea).
How To Harvest Maincrop Potatoes
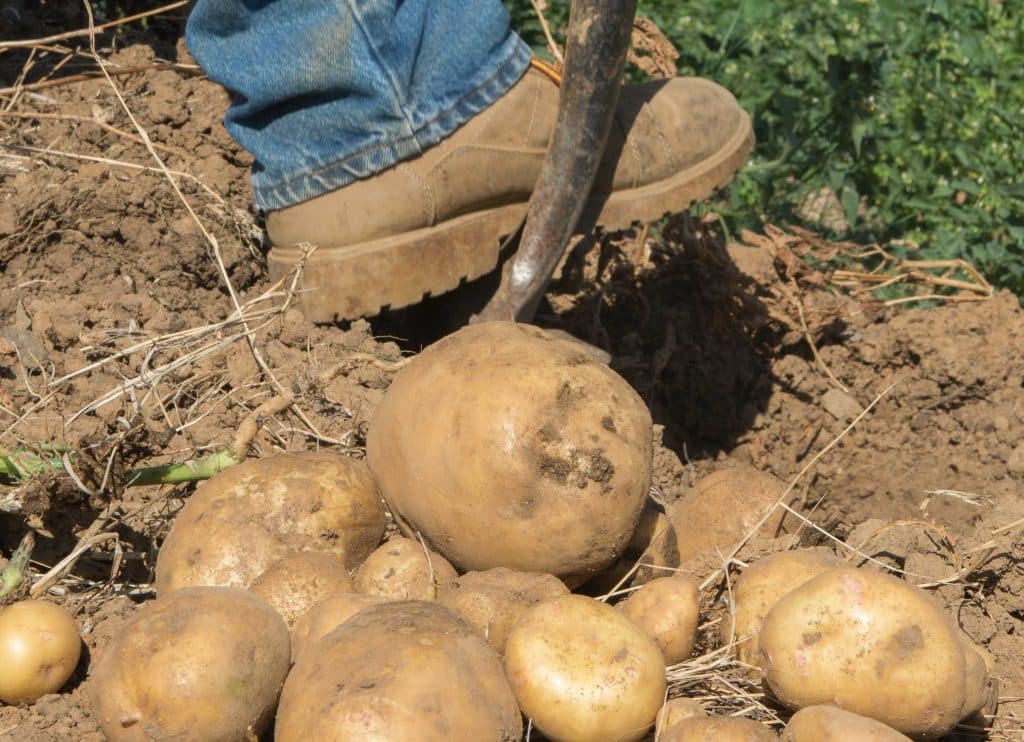
Potato tubers that are grown in the soil can be unearthed using a garden fork. With the no dig method, you can retrieve the tubers very easily by raking off some mulch and picking up the tubers by hand.
Take care not to damage the tubers as you do so, and set aside any that are damaged as these will not store as well. Any that are green (having been exposed to light) should also be discarded, as these are poisonous.
When To Harvest Maincrop Potatoes
Maincrop potatoes can be ready to harvest from August, and will typically be ready some time in September, or possibly early October.
With maincrop potatoes that you would like to store for use over the months to come, it is best to wait until the foliage turns yellow, then cut it down and remove it.
After cutting back the fading foliage, you should wait 10 days to 2 weeks before harvesting the tubers.
(One thing to note, however, is that if potato blight takes hold, you might cut foliage earlier in order to prevent the spread of this fungal infection to the tubers, so may harvest earlier.)
Storing The Maincrop Potato Harvest
Once you have harvested the tubers, leave them to dry for a few hours before you store them.
Potatoes are best stored in a root cellar. But of course, not all of us are lucky enough to have one.
Traditionally, gardeners sometimes stored potatoes in a hole in the ground insulated with dry leaves or straw called a ‘potato clamp‘ or ‘potato grave’.
To build a potato clamp, dig a hole in the soil around 10-15cm deep, wide enough to accommodate the number of potatoes which are to be stored. Line the hole with straw or dried leaves and place the potatoes in a pyramid shape on top, with potatoes no more than 50cm or so above the ground.
Place more straw or dried leaves over the top of the pile. Then mound over the whole pile with soil at least 15cm or so deep, scooped from a spade depth trench around the clamp. Leave a hole at the top, to provide ventilation, plugging the gap with straw or dried leaves.
This structure should keep potatoes edible throughout the winter months. However, the common problem is that pests like slugs or rodents may find the stash.
While a root cellar or cold store pantry is ideal, any cool and humid space can work well. A garage, shed or other unheated yet insulated space could work well. The ideal temperatures for potato storage are between around 7 and 10 degrees C..
The storage space should have reasonably good ventilation. You should always make sure that the potatoes are stored in a breathable container – such as cardboard boxes, baskets or crates – and not in plastic. You should also make sure that you keep potatoes away from onions, since keeping onions and potatoes in store together can cause both to go bad more quickly.
Come spring, stored potatoes are likely to start to sprout. But if you store them in the right conditions then they should be good to eat right through the winter months.
References:
https://www.growingwithnature.org/growing-no-dig-potatoes/
https://www.self-sufficient.co.uk/Potato-Clamp-Storing-Potatoes.htm