If you have gone to the effort of growing some food at home or on an allotment, the last thing that you want is for the produce you have grown to go to waste. Using the water bath canning method, you can make sure that you safely preserve your food. This is a method used when home bottling, or home canning.
Home bottling, also known as home canning, is a modern and scientifically advanced method for preventing food waste and spoilage. This process involves preserving foods such as fruits and vegetables by placing them in glass jars and heating them to create a vacuum seal, which eliminates organisms that could cause spoilage.
Home bottling specifically refers to storing foods in glass jars, while canning traditionally involves using tin cans. In the US, the term canning is commonly used to describe both methods. Although tin cans dominate commercial production, glass jars are the preferred choice for home food preservation.
What is the Water Bath Method?
The water bath canning method is used to process jars of food. It involves taking jars filled with food and boiling them for a certain period of time submerged in a large pot of water. While the basic method is simple, it is important to recognise that there are finer details that can make canning in this way a complex topic at first, with a range of intricacies to learn.
Why Do I Need to Water Bath My Bottles and Jars?
First things first, if you want to understand how to water bath can, you need to understand why we are doing this processing in the first place.
In the UK, traditional home bottling often uses the ‘open kettle’ method, where jams and other preserves are made and then transferred to sterilized jars. However, the scientific consensus favours techniques that include further processing of the jars to ensure the highest level of food safety. Ensuring food safety is crucial when preserving food at home.
The practice of bottling or canning dates back to the ancient Greeks and Romans, who discovered that keeping air out was essential for preserving food. The technique was perfected in 1809 by Nicolas Appert, who won a prize offered by Napoleon for a method to supply his armies with preserved food.
Appert’s process involved sealing food in glass jars. The following year, Peter Durand adapted this process using metal cans. The understanding of why these methods prevented spoilage came about 50 years later when Louis Pasteur demonstrated the role of microbes in food spoilage, leading to the development of pasteurization.
When done correctly, home bottling or canning is an effective way to preserve fruits, vegetables, and other foods. But it is vital to use the proper techniques tailored to the specific types of food being preserved to ensure safety and effectiveness.
Jars need to be processed for the correct period of time so that the contents of the jars is heated to the correct temperature to kill spoiling microbes, and the jars need to seal properly to make sure that oxygen and further microbes cannot get in.
When to Water Bath Can
Water bath canning is a suitable method when processing jars with high-acid contents, but not for jars containing low-acid foods. Jams or other recipes made from high acid fruits, for example, are fine for water bath canning, while meats, fish and most vegetables are not.
Low acid foods must instead be pressure canned for food safety (which involves some more specialist equipment), since only pressure canning can get the contents hot enough inside the jars.
Basic Equipment and Setup

To get started with water bath canning, you need less equipment than you might think. However, there are a few basic things that you will need, and some other items that do come in handy and make the job easier.
Basic Equipment
At the very least, for water bath canning, you will need:
- Jars – you should use specialist jars with 2 part lids that are designed for water bath canning. (You do need special canning jars for safety. These are rated to withstand the heat and seal properly to exclude air and keep foods fresh.
Make sure that you choose jars from a reputable and well known brand such as Mason jars or Ball jars, for example.
And remember, you can reuse the jars and bands, but the flat lids should only be used once for canning before they are relegated to other uses, such as pantry storage.)
- A water bath canner, or a large pot with fitted lid.
(If you simply use a large pot this must be big enough to cover jars with water by at least 2 inches, and you will need to buy or make a rack to place in the base. You can use jar rings wired together as a DIY solution, for example.)
I would also highly recommend that you get your hands on a reliable book with recipes for home canning before you get started. There is a lot of iffy information online and so it can be good to have recipes on hand from a reliable source.
Optional Equipment
Other useful items to make, source, or buy include:
- A funnel or something to use as a funnel to fill jars more easily.
- A jar lifter, or something else to lift jars in and out of your canner or large pot.
- A magnet or magnetic tool to make handling jar lids easier.
- A utensil you can use for de-bubbling (removing air pockets from jars before processing).
Often, purchasing items is not essential and you can use items you already own to fulfil the roles.
Getting Started
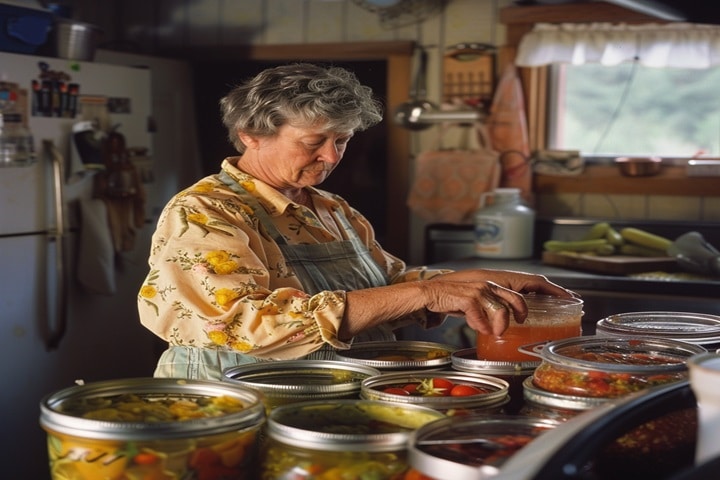
Once you have the equipment you need, and have harvested some food, the next step is to research recipes and processing times. It is important that you always turn to trusted and reliable sources when working out how to safely preserve your crops.
- Fill the Jars
Some foods for canning are placed cold into cold jars, while in other cases jars are warmed to prevent heat shock and hot food is placed inside. These are sometimes referred to as cold packing and hot packing methods.
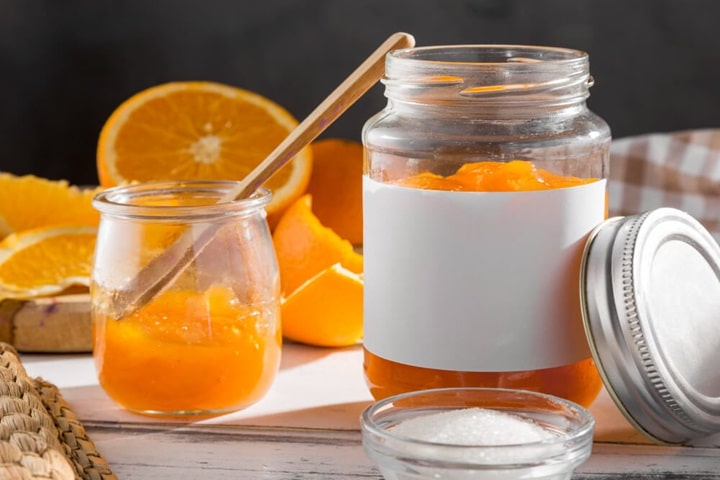
Those who are new to home preservation and home bottling or canning will often begin with making jam or jelly. Jams and jellies are typically ladled hot into jars that have been heated up by boiling them in hot water. It is a good idea to heat jars that will have hot stuff poured into them because otherwise the glass can crack with the heat differential.
When you are filling your jars you need to think about something called head space. This is how much space you need to leave between the contents of the jar and the rim. Make sure you know what the head space should be for the thing you are canning.
You also need to de-bubble the contents – making sure that there are not air pockets within the jar – before processing.
- Apply the Lids and Rings
Once the food is inside the jars, you should next wipe off the rims of the jars with a splash of vinegar to make sure there is no food or grease that can prevent the lids from sealing as they should.
Place the flat lids into the jars, making sure that they are positioned correctly, and then screw on the bands, tightening them finger tight but not forcing them down.
- Process the Jars
Place the jars into the pan or canner filled with hot water and bring them to the boil. (If the jars are cold, filled with cold contents, place them into cold/ lukewarm water before bringing this to the boil.)
Make sure that the jars are safely positioned on a rack, with space between them, and with a couple of inches of water above them.
Once the water is boiling, you can start counting down the required processing time for the specific recipe you are using.
- Let the Jars Cool Down
When you reach the end of the processing time, you can bring the canner or pan off the stovetop or turn off the hob. But let the jars remain in the water to cool down for at least a few minutes. You can then transfer the jars carefully onto a tea-towel or mat placed on your worktop or table.
Let the jars cool completely before you remove the rings and check the lids to make sure that they have sealed correctly.
- Test the Lids, and Store Your Jars
Remove the rings once the jars are completely cool and check that you cannot depress the centres of the lids and that they have sucked down tight to exclude oxygen from the contents. The lids should be on firmly and you should be able to pick up each jar holding only the lid.
If any jars have not sealed properly, you should use their contents up right away. Properly sealed jars can be stored in a cupboard or pantry and should keep at room temperature for at least a couple of years. Be sure to store them with the rings off so that you can quickly find out if there are any problems.
- Do all foods need to be processed using a water bath?
Any jams, jellies or other high-acid foods that you wish to keep for longer than a few days should really be processed in a water bath for food safety. Not processing foods like jams is common, but is really not worth the risk.
- What foods cannot be processed using a water bath?
As mentioned above, it is very important to remember that water bath canning is only suitable for high-acid foods. You cannot use this method to process meats, fish, or any low-acid crops like green vegetables, root vegetables, or beans. To process these things safely you need a pressure canner.
How do I know which foods are safe to process using a water bath?
Whenever you are water bath canning, or doing any preservation at all for that matter, it is important to consult a trusted and reliable authority.
Remember, these authorities will tell you not only which foods are safe to process in this way but also the details about head space, methods, processing time etc… which are all also crucial for food safety.
Canning Tips for the Best Results
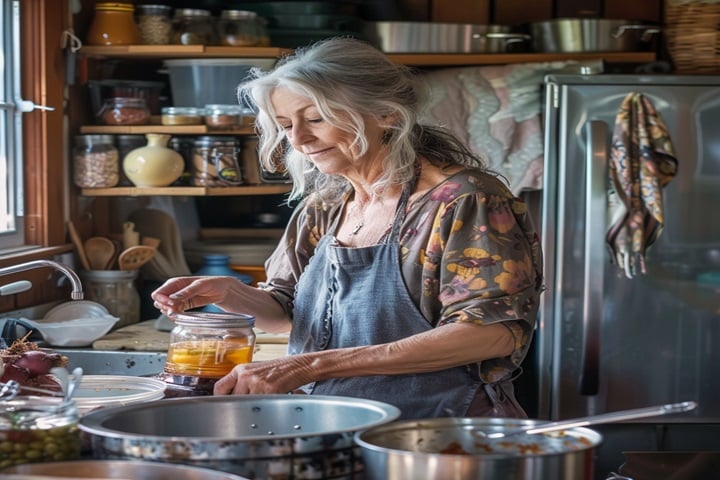
- Make sure you select healthy, best-quality produce for the best results.
- Boil jars and lids to sterilize them before use to be on the safe side.
- Select reliable, good-quality jars.
- Leave the correct amount of headspace in your jars.
- Make sure that you de-bubble to remove air pockets before processing.
- Wipe rims before placing the lids to ensure a proper seal.
- Remember processing time depends on the recipe, and your altitude.
- Only start counting down processing time once the water is boiling properly.
- Leave jars to cool properly before disturbing them.
FAQs
What cannot be canned in a water bath?
Low acid foods cannot be canned in a water bath. This method is only suitable for high-acid foods.
What is the difference between canning and water bath?
The water bath method is one type of canning, or bottling. Another type of canning is pressure canning, which is a method suitable for foods that cannot be canned in this way.
Sources
Meredith, L., (2023) Pressure Canning vs. Water Bath Canning. The Spruce Eats. [online] Available at: https://www.thespruceeats.com/boiling-water-bath-versus-pressure-canning-1327438