


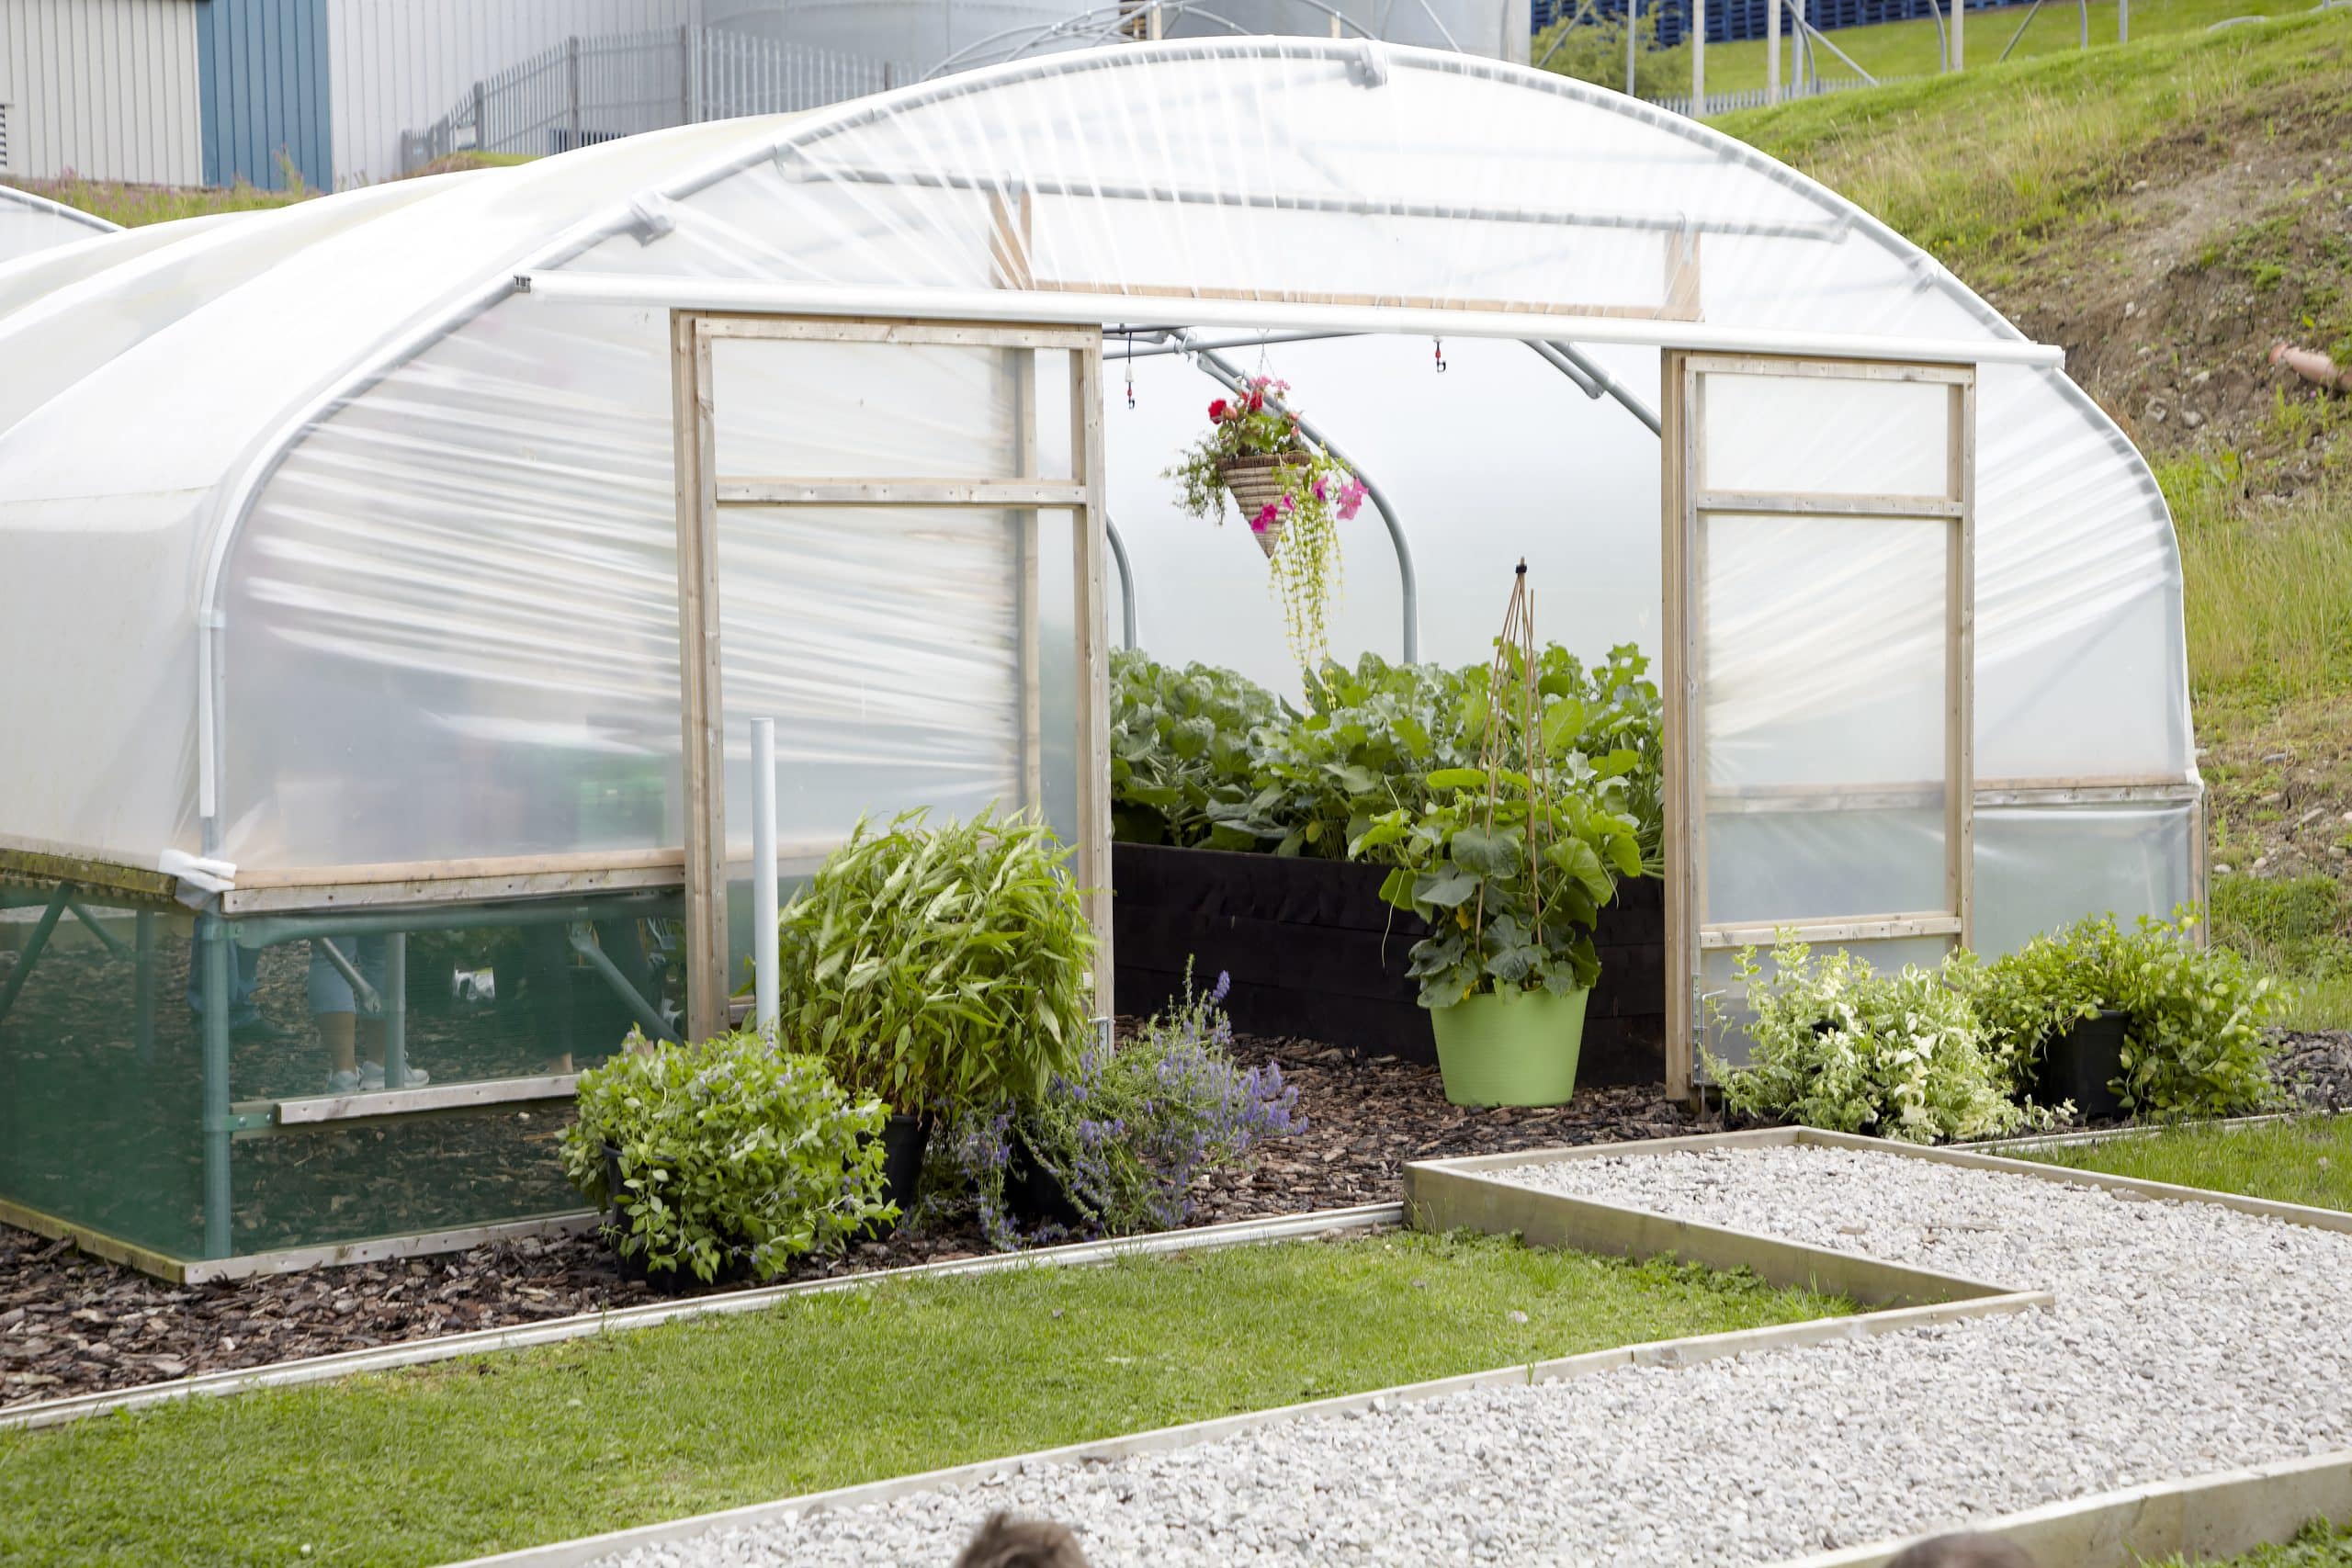
Choosing from the various polytunnel layout ideas available online and in the books is an extremely important step in making sure that the polythene tunnels can meet all of your requirements.
There are many different things to consider when deciding how to layout a polytunnel. In this article, we will introduce beginners to many of the key considerations, walking you through the decision making process and help you choose the best polytunnel layout ideas for you.
Take a look at our other layout guides, including allotment layout ideas and fruit cage layout plans
Plan and Draw Out Your Layout First
You might wonder why thinking about polytunnel layout ideas is so important. Do you really have to have a full plan in place before you start to make use of the space? I would argue that you do.
No matter how large a polytunnel you have, you will soon find that no matter how much space you have for growing, you will always want more!
It is best to think about making the most of the space in your polytunnel with optimal polytunnel layout ideas from the very beginning, so you don’t find yourself having to make costly changes further down the line. Get things right now, and your polytunnel layout will serve you well for many years to come.
Consider The Size of Your Polytunnel
As you begin to think about polytunnel layout ideas, remember that the size of the polytunnel will be important in working out what will be the right options for you.
The width, height and length of the space will all come into play, and as you plan your layout you will likely think about those measurements, along with your own, when making key decisions for the space.
Think About How the Polytunnel Will Be Used
Of course, polytunnels can be used in a huge range of different ways. It is most common for them to be used for food production, but even that can be very varied and a huge range of different growing methods and strategies might be used.
Before you can start creating an optimal polytunnel layout ideas for your polytunnel interior, you will need to think about how you will use the space. Having a clear idea of your intentions and goals will definitely be important as you start to make key decisions about your space.
Know Where Your Pathways Will Be
One of the important elements to consider when planning the layout of your polytunnel is the question of access.
You, as the gardener, need to be able to enter your polytunnel to tend and perhaps to water it. One important issue when considering access is whether you will need to bring a wheelbarrow or other larger equipment inside.
If you will need to bring in a wheelbarrow, then obviously you will potentially need a wider path than you would do if you only need to step inside yourself.
Obviously, the amount of access required will depend to a large degree on the size of your polytunnel, as well as the uses to which it is being put and the plants that are being grown within.
For most polytunnels, a path width of around 30cm-60cm is usually sufficient. A path of 30cm allows walking access, while one of 60cm allows more space for kneeling and weeding, and for wheelbarrow access.
However, there is nothing to say that you cannot choose to make a narrower path than that. Thinking outside the box, you may even do away with a traditional path entirely. It all depends on your own personal needs and requirements – and also your personal references, to a certain degree.
Regardless of the decisions you make, making decisions about the pathways or access to the space within the polytunnel will be a crucial early step in planning how to layout a polytunnel.
Don’t Forget Practicalities
When thinking about the layout of any polytunnel, it is important not to get carried away trying to fit in as much as possible and forget about simple practicalities – such as whether you can actually get in and out of the doors.
Make sure you know whether polytunnel doors open outwards or inwards, and take account of the space doors need to move and open… as well as thinking about other practical matters that will arise as you start to use the space.
Plan Out Raised Beds…
Determining layout and maximising edge should also involve consideration of the plants that you wish to grow in your polytunnel. What you choose from the range of polytunnel layout ideas will help you to determine a planting scheme later on.
At this stage, you do not have to have a full planting scheme in mind, though in determining the best layout, it may be useful to consider which sorts of plants you would like to grow, what height they will grow to, the conditions they will require, and how widely they must be spaced.
With beds to either side of your tunnel, for example, will you have enough height to grow the plants you wish to grow? It could also be a good idea to consider the need (if any) for crop rotation, which may require a certain number of growing areas.
As well as having a rough idea about planting, you should also think about whether you will have raised beds for garden, or grow directly in the soil.
Raised beds can often be an easier and more convenient choice, and when you take a sustainable approach and use organic matter from elsewhere in the garden to fill them, and reclaimed materials for the edging, they need not be any more expensive to implement than growing in the ground.
… Or Try Planting Direct in the Soil
Of course, you might also create growing areas without edging, growing directly in the soil within your polytunnel. But in this case, the considerations about layout remain broadly the same.
Whether you have raised beds or grow in the ground, it is best to always keep beds narrow enough that you can reach to every part of each one without having to stand on growing areas.
Beds that can only be reached from one side should usually not be more than 60cm wide, while beds with access on both sides should not exceed around 120cm.
Remember to take into account the heights and reaches of the gardeners when making your calculations and laying out your plan.
Consider Space-Saving Staging and Other Multi-functional Elements
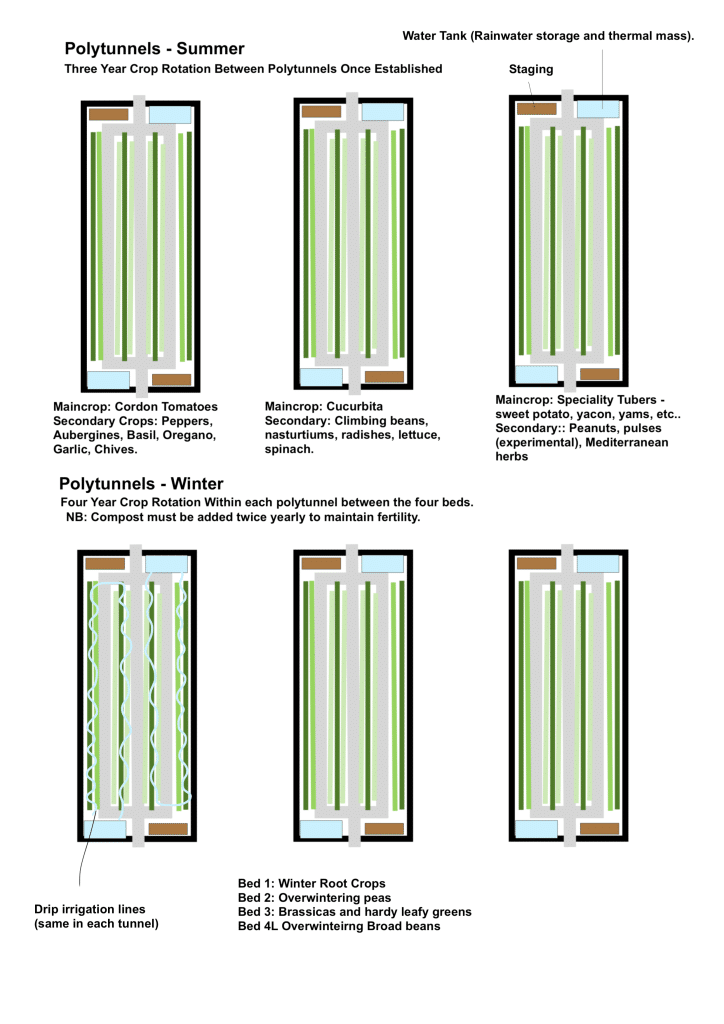
Polytunnel staging can be important in a polytunnel, helping to make the most of the space available and enhancing the practicality of the space as you actually use it in future.
While you may be tempted to give over all the space to growing areas/ beds, having some space for staging can be a good idea. So consider this when thinking about how to layout a polytunnel.
We can also make space within a polytunnel for plenty of other multi-functional elements. In a limited space, it is a good idea to choose elements that can provide not only one function, but multiple functions.
We can get more out of our polytunnels when we work to ensure that everything within it serves as many useful functions, and has as many useful outputs, as possible. Such elements obviously need to be considered when we are working on a layout for the space.
Add Vertical Gardening Elements
When thinking about polytunnel layout ideas, it is important to think in three dimensions. As well as thinking about the horizontal area, you should also think about the vertical element of the space, and how that can be used.
Making use of the vertical element in gardening is often called vertical gardening, and there are numerous vertical gardening solutions that can be employed in a polytunnel garden.
If we think about layout only on the ground then we are neglecting a large proportion of the usable space in a polytunnel. Through design and planting we can make sure that we use the whole polytunnel, including the space further towards to top of the structure.
Make It Your Own
There are many different ways to layout a polytunnel. Many will opt for one of the most traditional approaches – either a two bed, one central path layout, or a three bed two path layout.
But there is no rule that says that you have to go for the most conventional approaches in polytunnel layout. You might also have curving pathways – there is no rule that says that the paths in a polytunnel should be straight. In fact, by incorporating irregular growing areas with curved edges is one way of maximising the amount of edge.
Another possible approach is to create ‘keyholes’ that radiate out from a central path to allow good access to all parts of the growing areas to either side.
Rather than having unbroken pathways through a polytunnel, you could also consider simply placing a number of stepping stones or ‘islands’ that would allow access to each of the areas of the space.
Thinking outside the box can often yield new and interesting solutions for the same old problems, and allow you to create a quirkier, more idiosyncratic layout that works perfectly for you.
References:
https://www.treehugger.com/lessons-learned-polytunnel-gardening-5207539






